In this tutorial, we will show you how to add animated overlays to Ecamm Live on a Mac. We will be using a WebM overlay from our store, but you can also use the following compatible formats: Apple Pro Res 4444, HEVC, and MP4. If you would like to convert your overlay to WebM, you can follow this tutorial.
Step 1
Before you add your overlay to Ecamm we recommend placing it somewhere on your Mac that it won’t be deleted or moved. This could be a dedicated graphics folder, or whatever makes sense to you. This is to avoid issues with the overlay in Ecamm.
Step 2
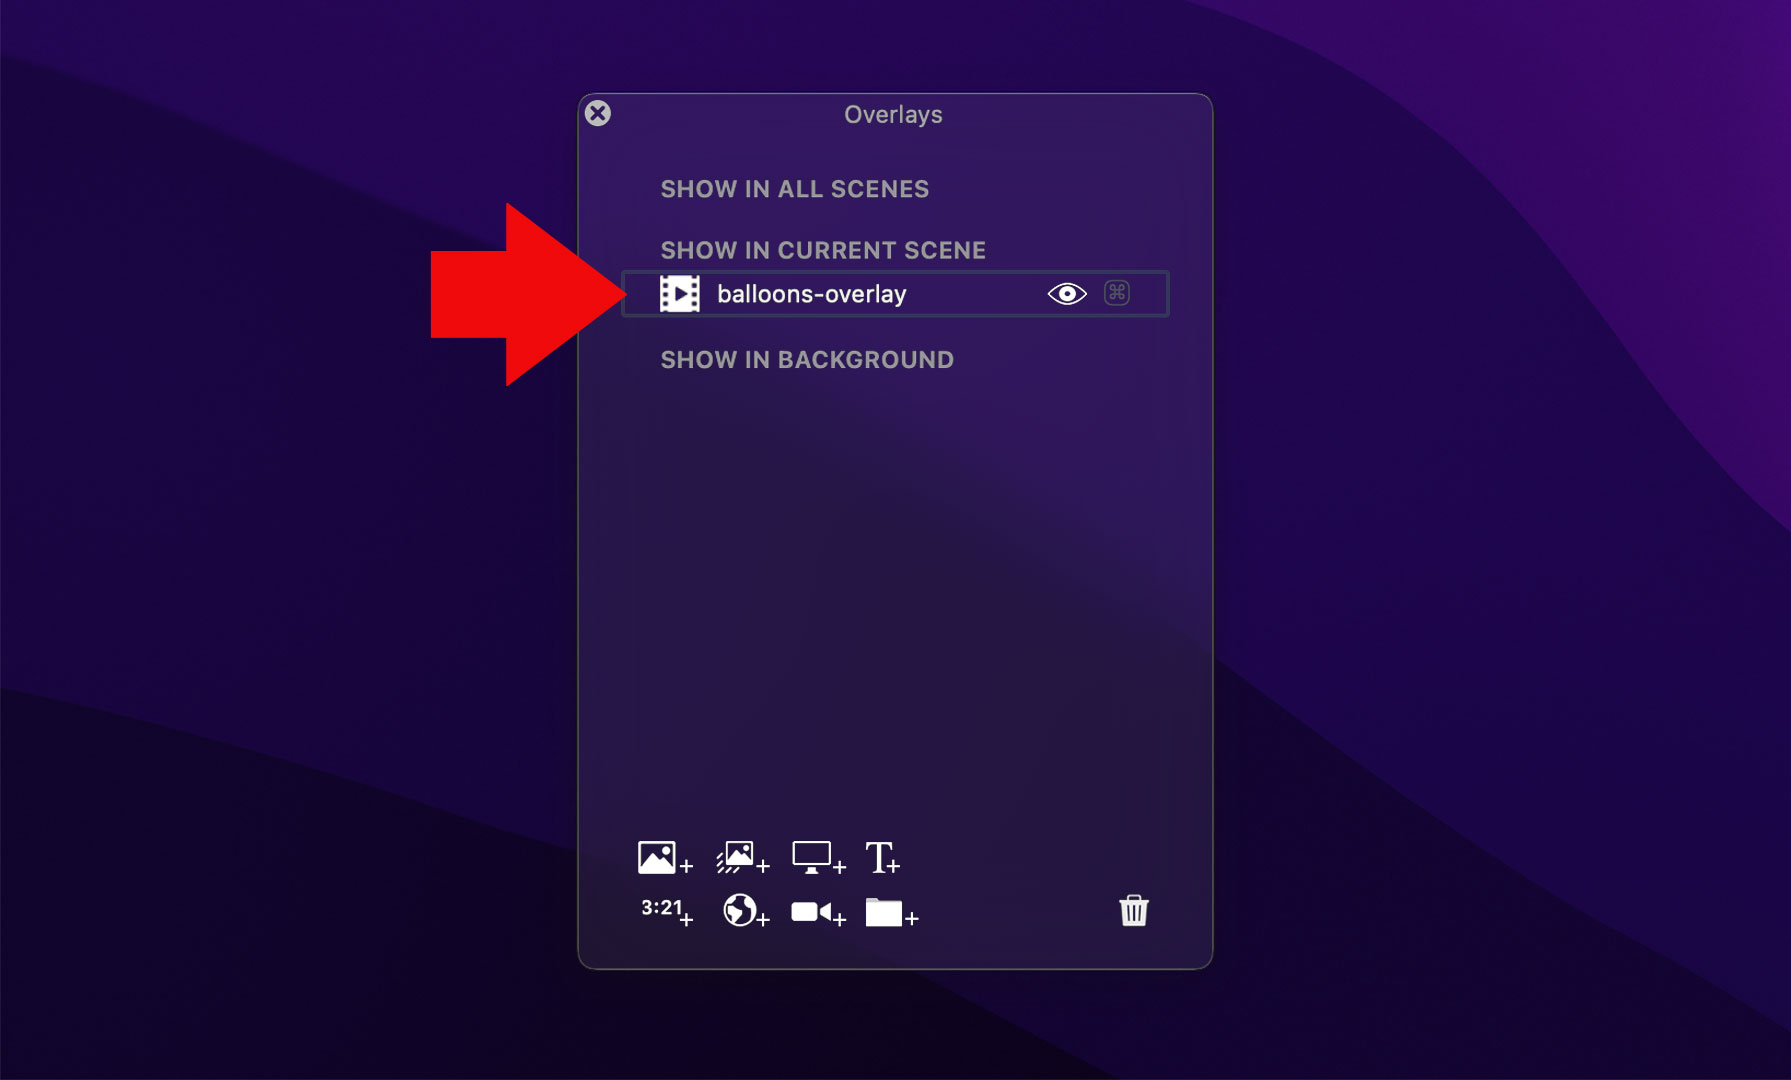
Animated overlays can be added to Ecamm a few different ways. You can go to “Overlays > New Animated Overlay” from the main menu and locate the overlay on your Mac, you can drag & drop the file into the main window, or you can drag & drop it into the Overlays Panel. We recommend the last option.
Step 3
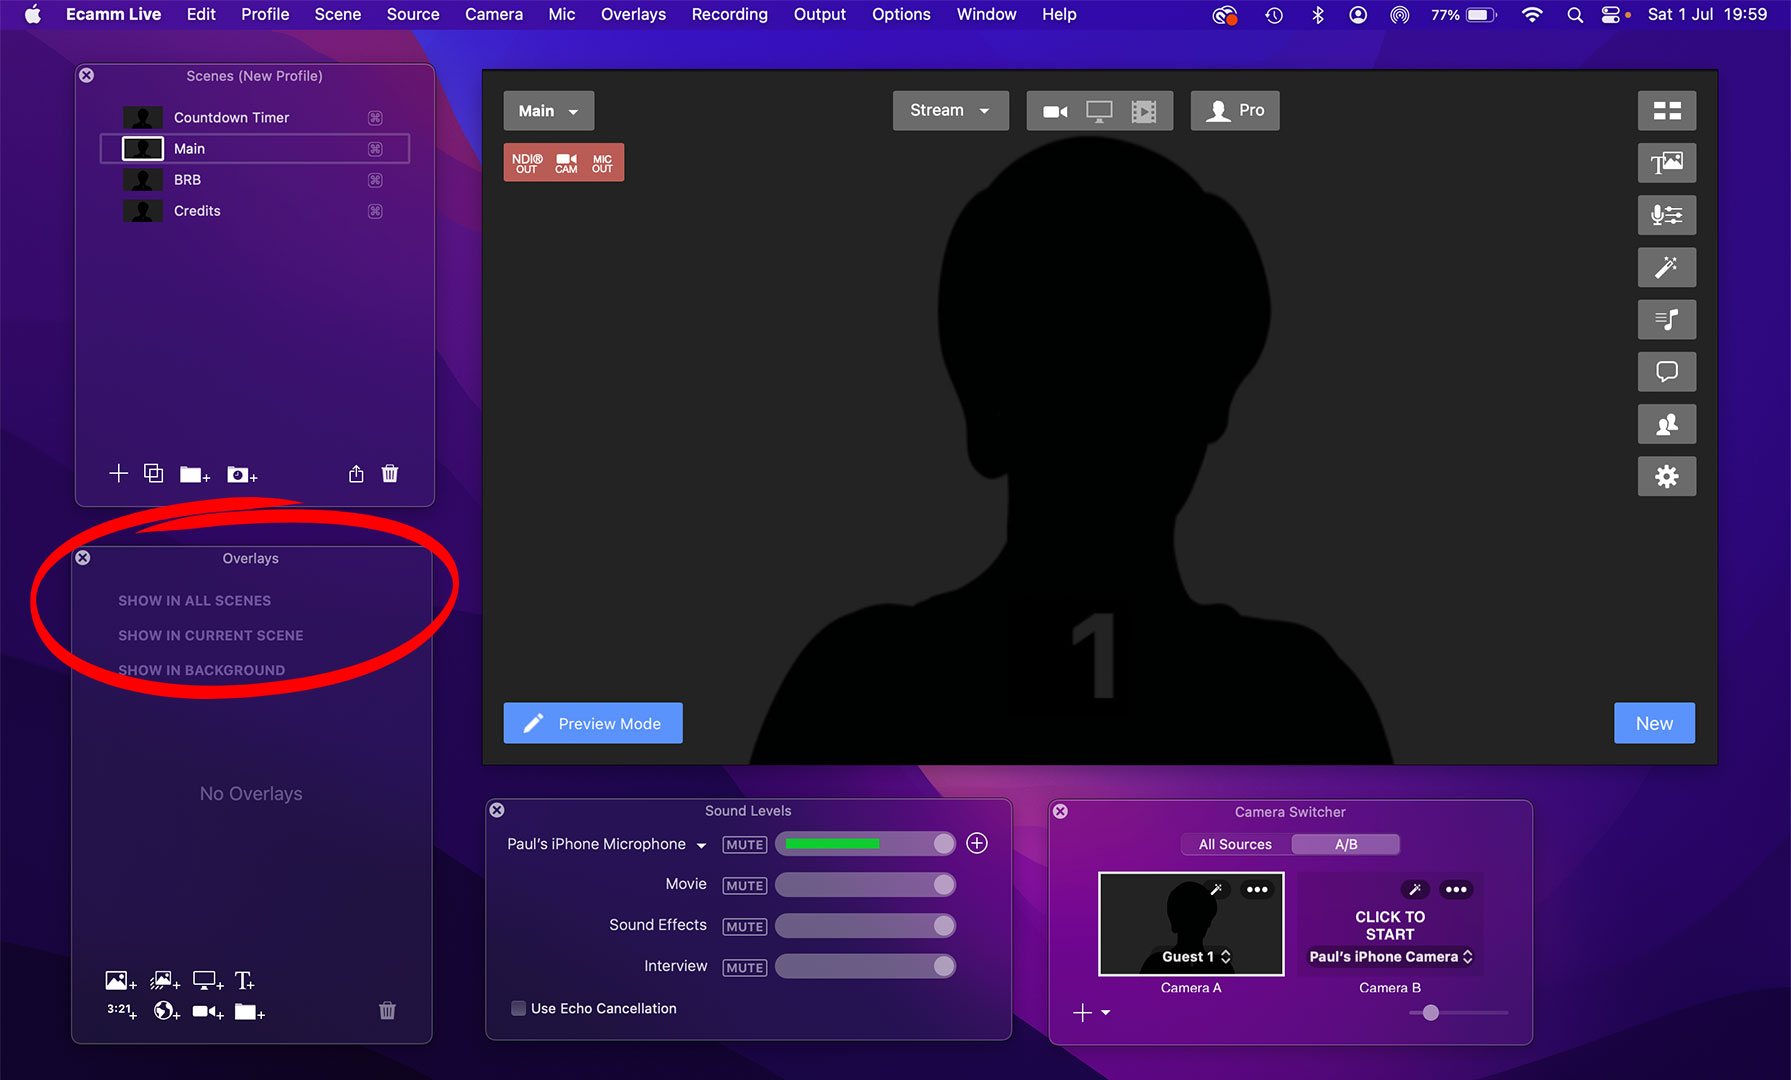
The Overlays Panel has three different sections. You can have your overlay appear in all scenes, only the current scene, or in the background. If you want your overlay to display on top of your camera you will want to choose one of the first two options.
Step 4
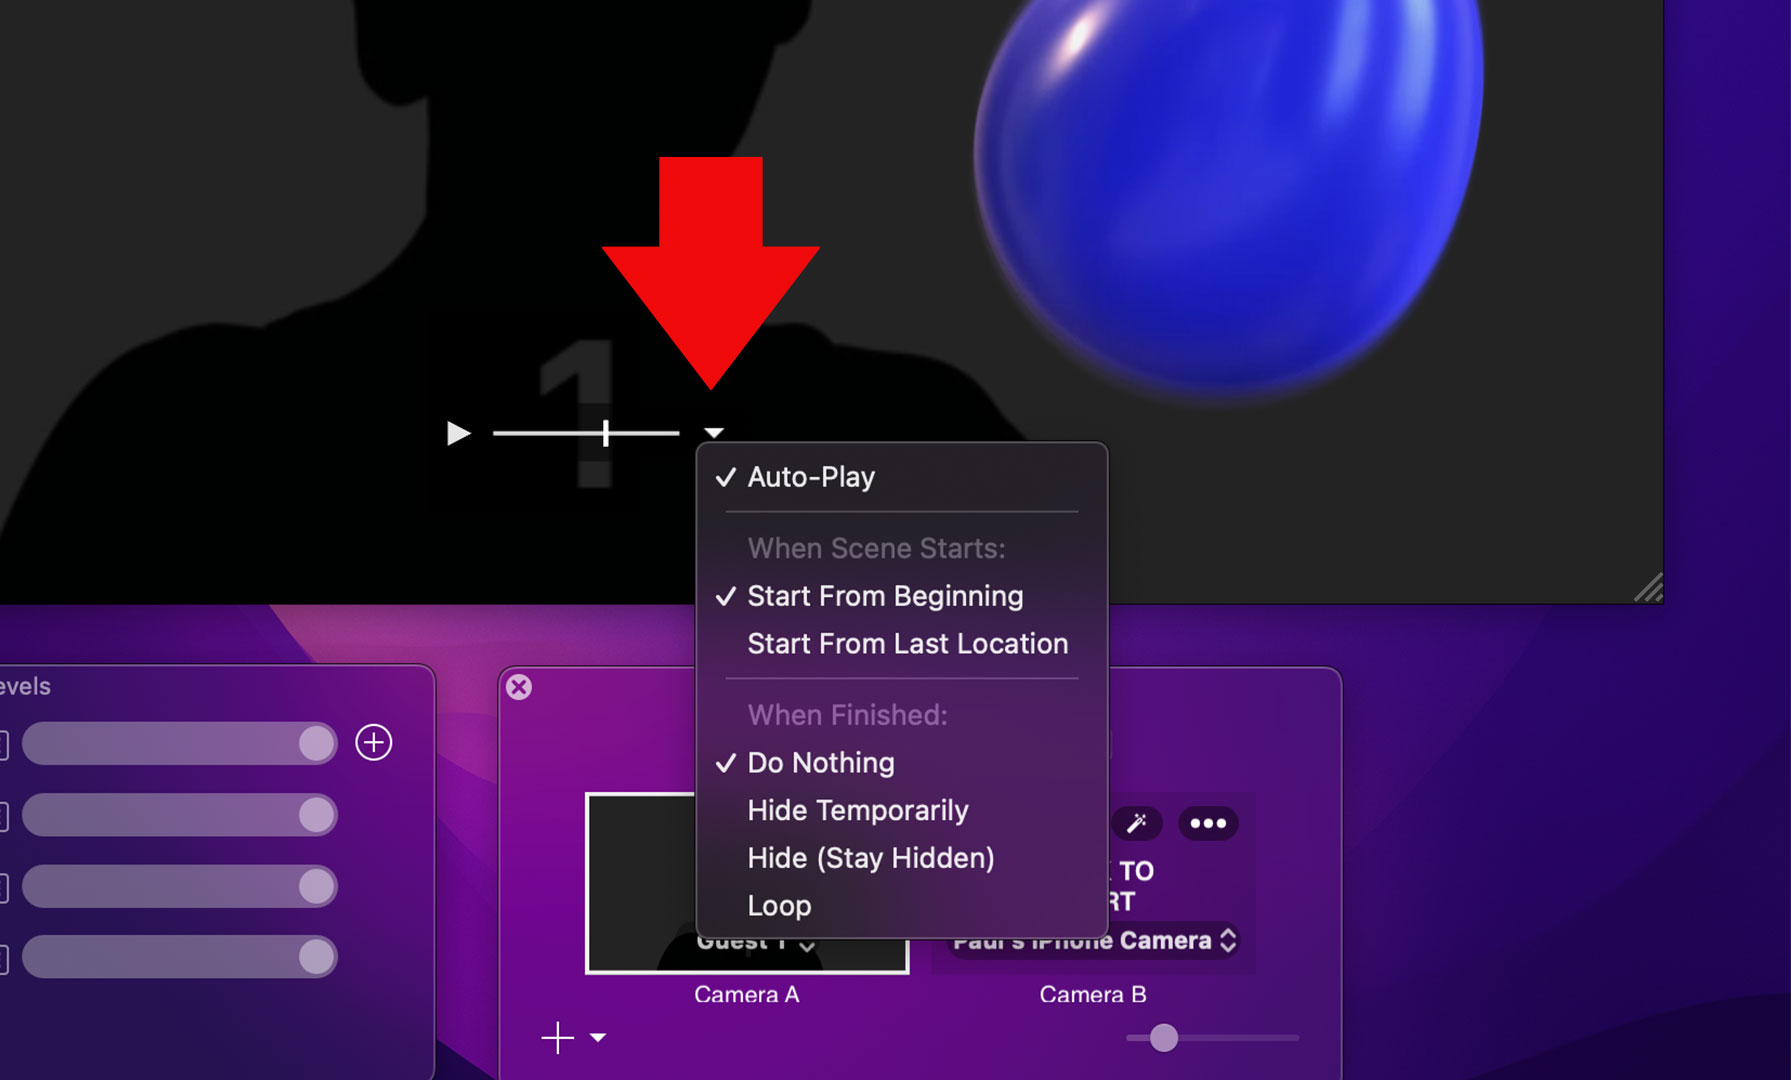
After dropping your overlay into the Overlays Panel it will appear in the main window. Hover over the overlay with your cursor and click on the downward arrow icon to access different playback options. If you want your overlay to play repeatedly, select “Loop”.
Step 5
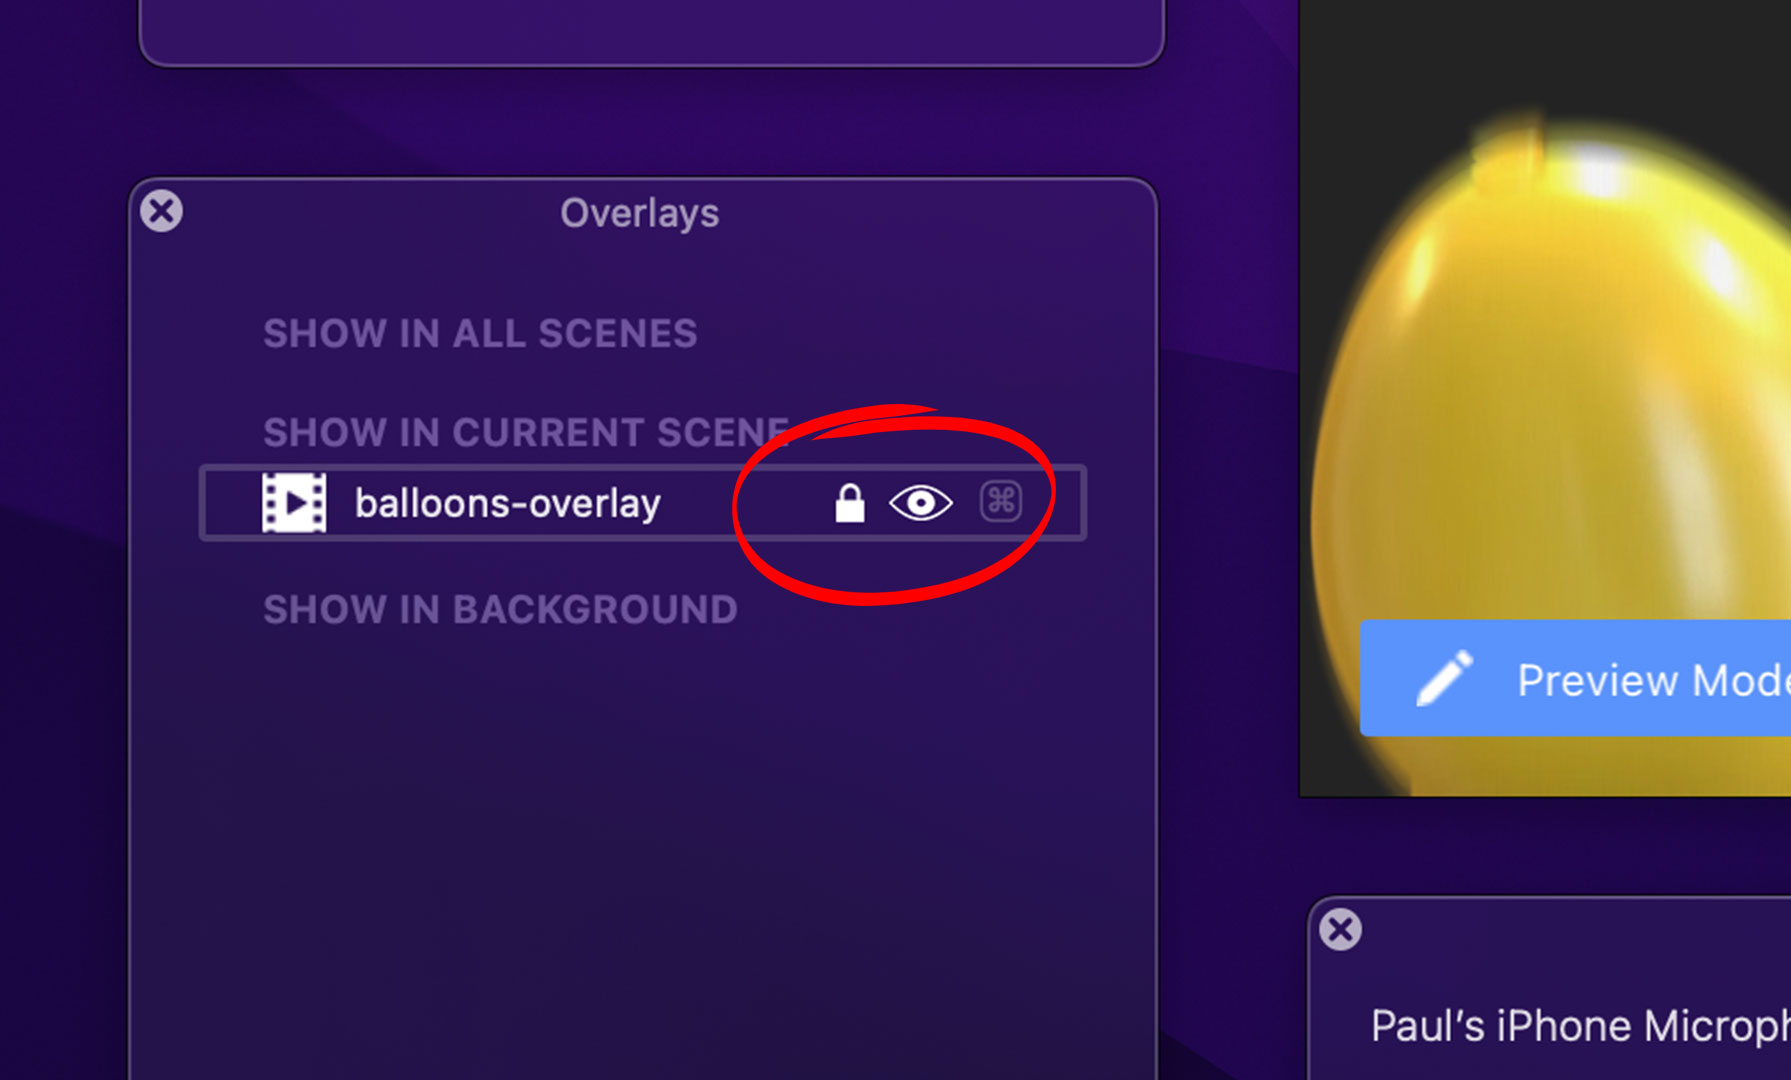
Once you have set your desired playback options you can choose to hide/show the overlay and also lock it to prevent moving or resizing it by mistake. These options are found next to the overlay name in the Overlays Panel.
Congratulations! You have successfully added your animated overlay to Ecamm Live! If you need to remove an overlay, simply select it in the Overlays Panel and press the backspace key on your keyboard.
Get Overlays for Ecamm
We sell Ecamm Live compatible animated overlays on our store!