In this tutorial, you will learn how to add animated overlays in OBS Studio on a PC or Mac. We will be using a WebM animation from one of our overlay packs, but you can also use MOV and MP4 videos. If you want to know how to convert a video file to WebM, check out this tutorial.
Step 1
Before adding your overlay to OBS it’s a good idea to place it somewhere it won’t be moved or overwritten. This could be a dedicated assets folder, or whatever makes sense to you. This is to prevent issues with the overlay in OBS.
Step 2
Inside OBS select the scene you want to add your animated overlay to. To add your overlay we need to use the “Sources” section.
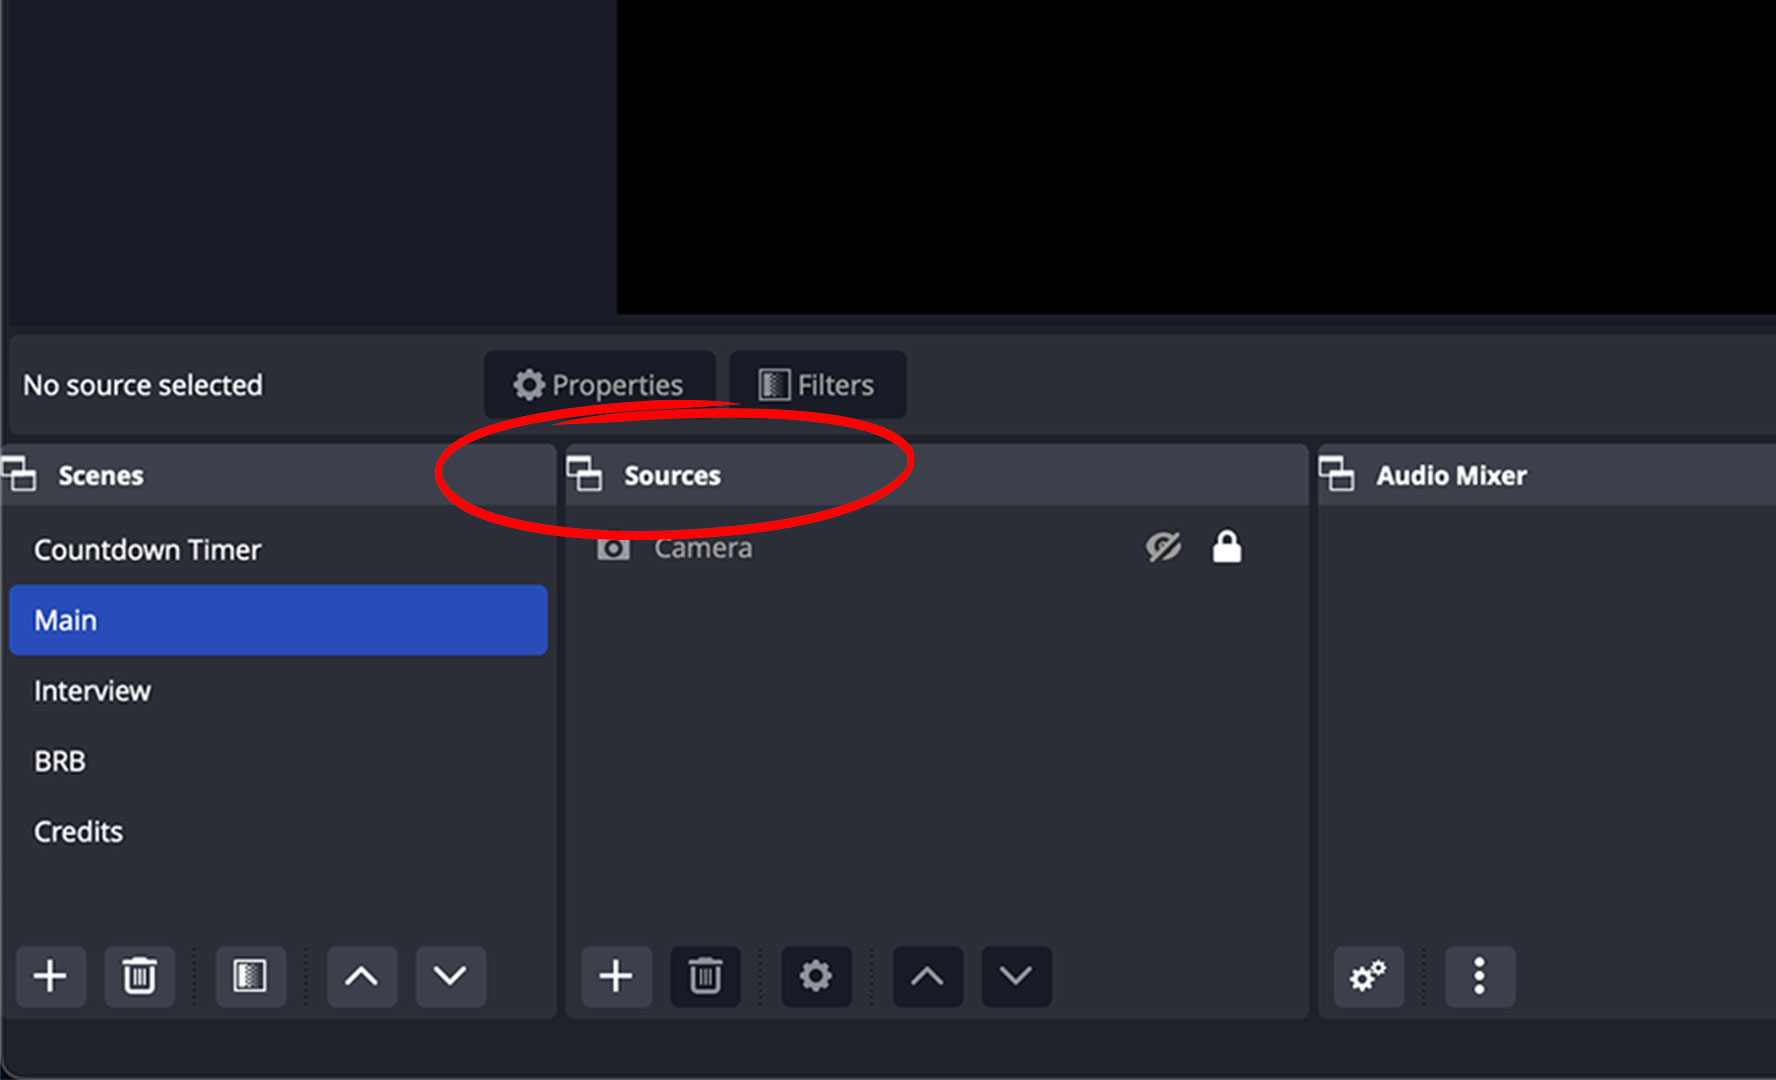
Step 3
Inside the Sources section click on the “+” button and choose the “Media Source” option. Give your source a name, and click on “OK”.
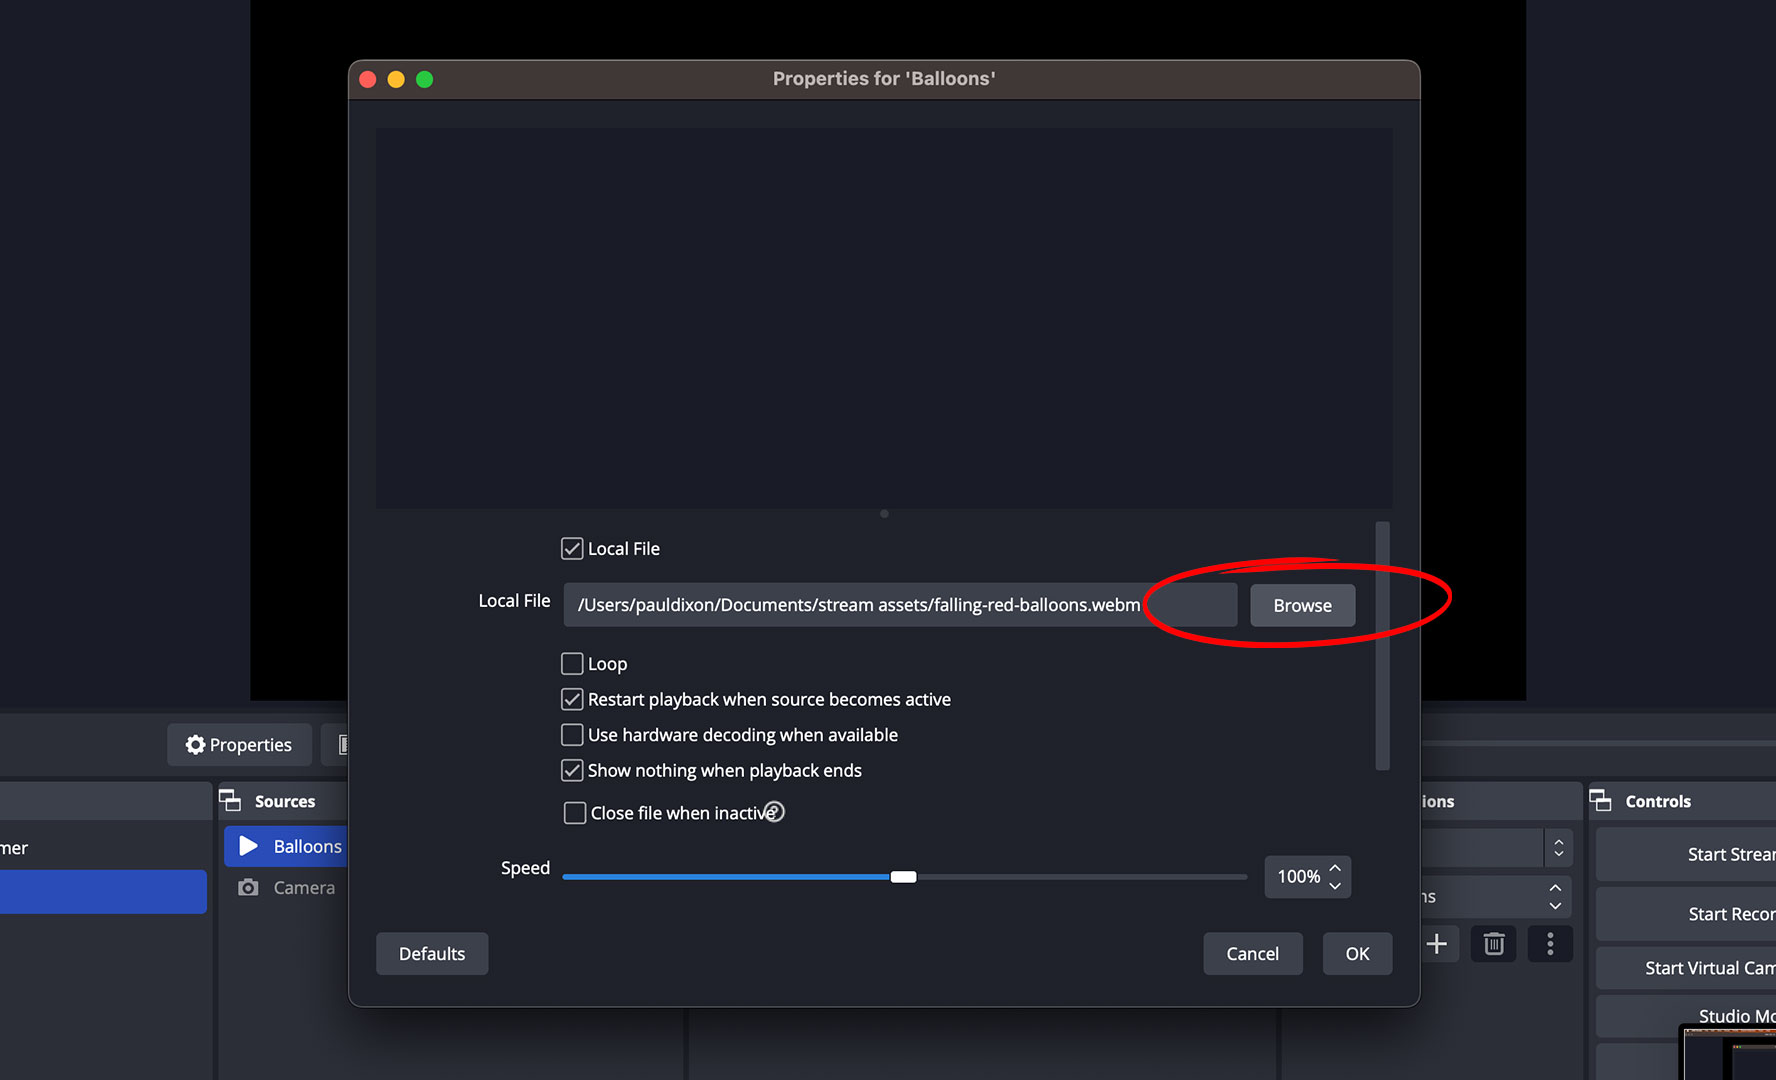
Step 4
Click “Browse” to locate your overlay and open it. There are a few different options that affect how your overlay behaves, but in most cases the only one you may need to select is “Loop” – which will make your animation play repeatedly. Click “OK”.
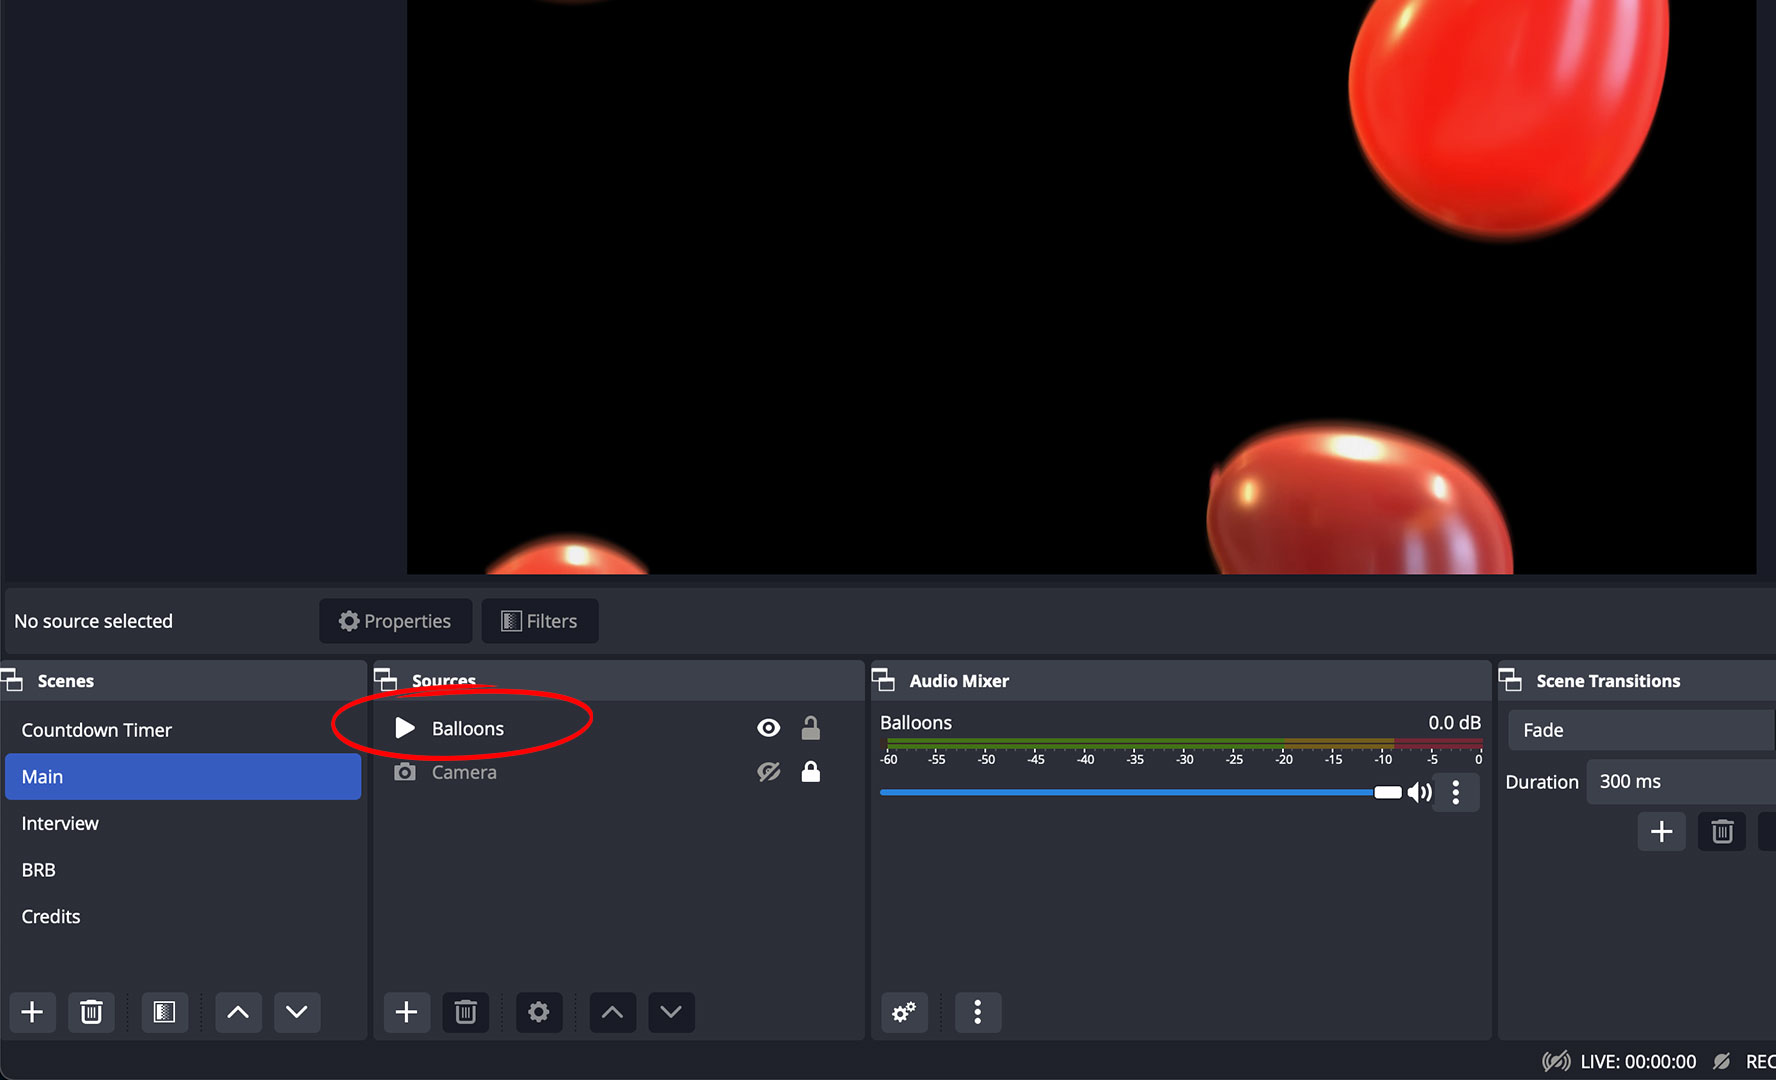
Step 5
Your animated overlay should now appear in the OBS Preview Window. In the Sources section, you’ll find options to show/hide and lock the overlay. If you need to make any adjustments to the overlay’s settings, you can either double-click on its name or click the gear icon at the bottom.
Congratulations! You have successfully added your animated overlay to OBS. To remove an overlay click on the trash icon or press backspace on your keyboard.
Get Overlays for OBS
We sell animated overlays for OBS Studio on our store!