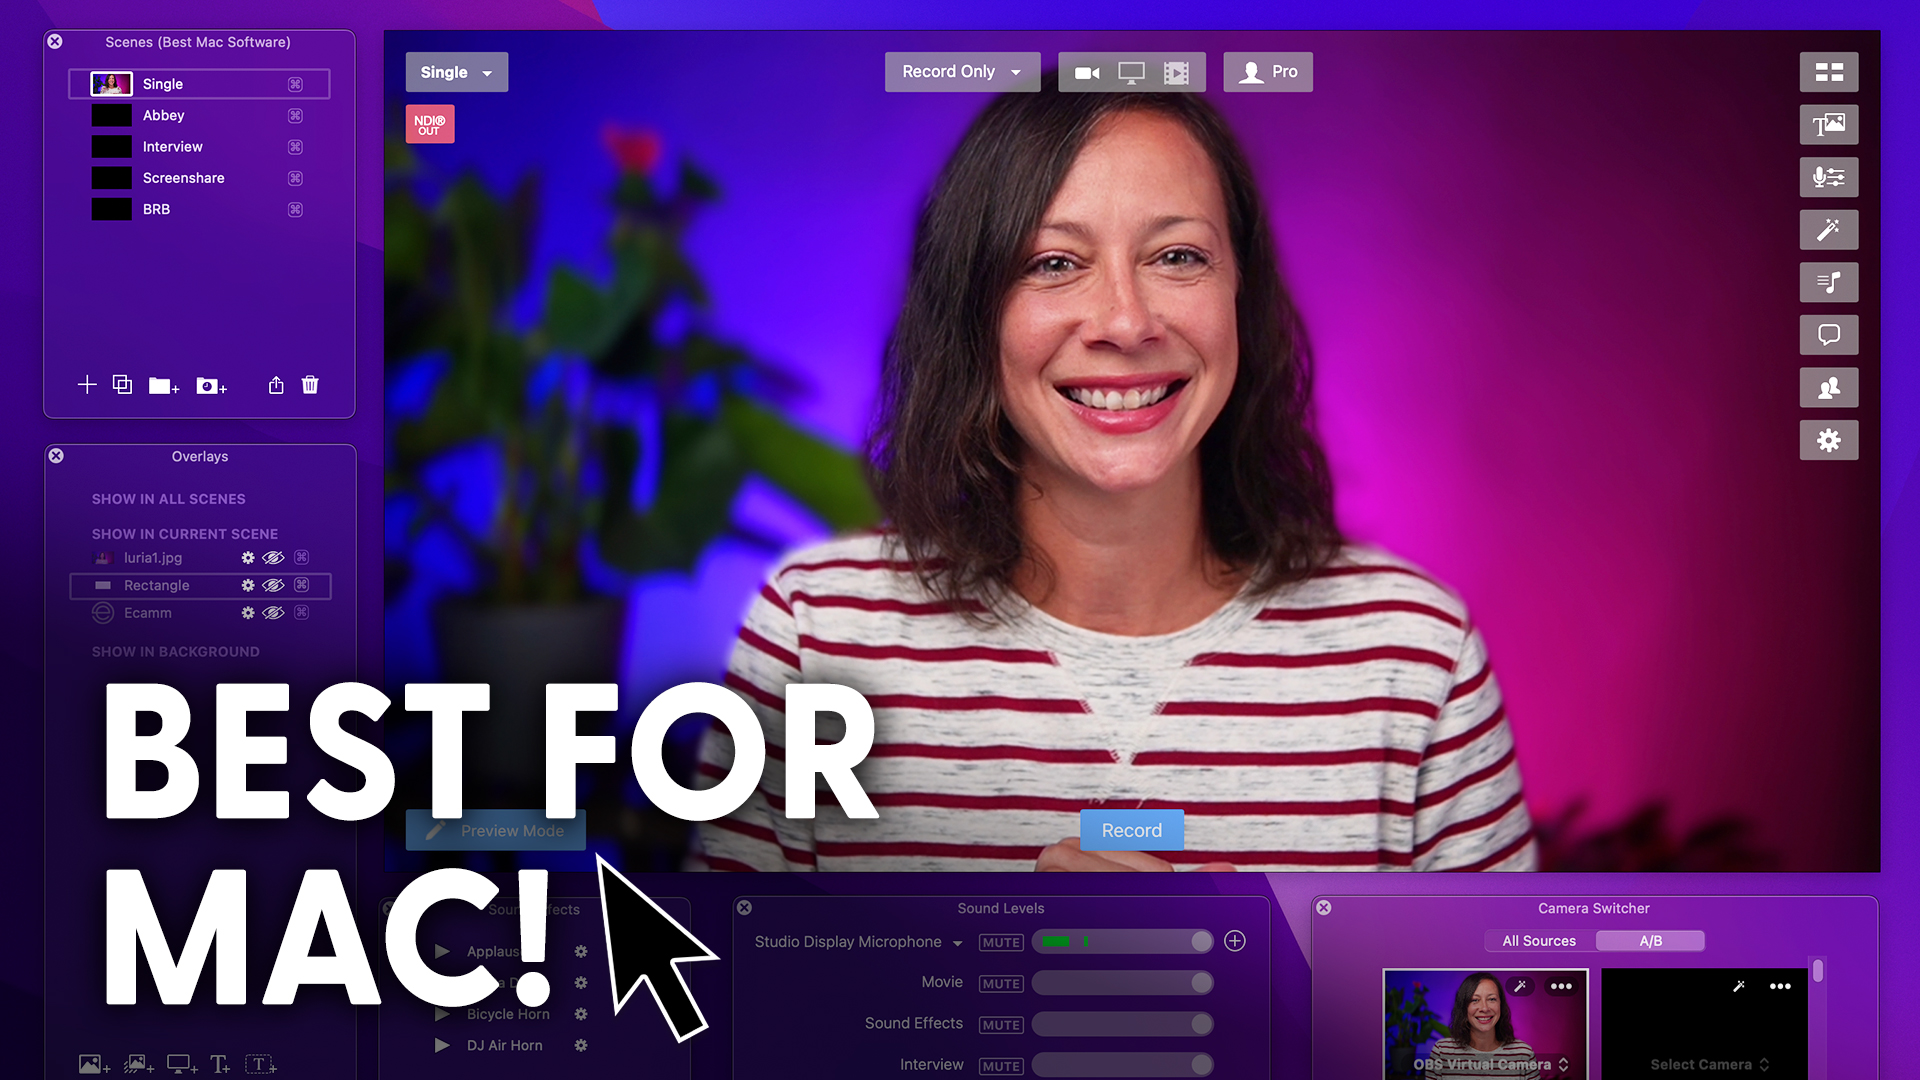
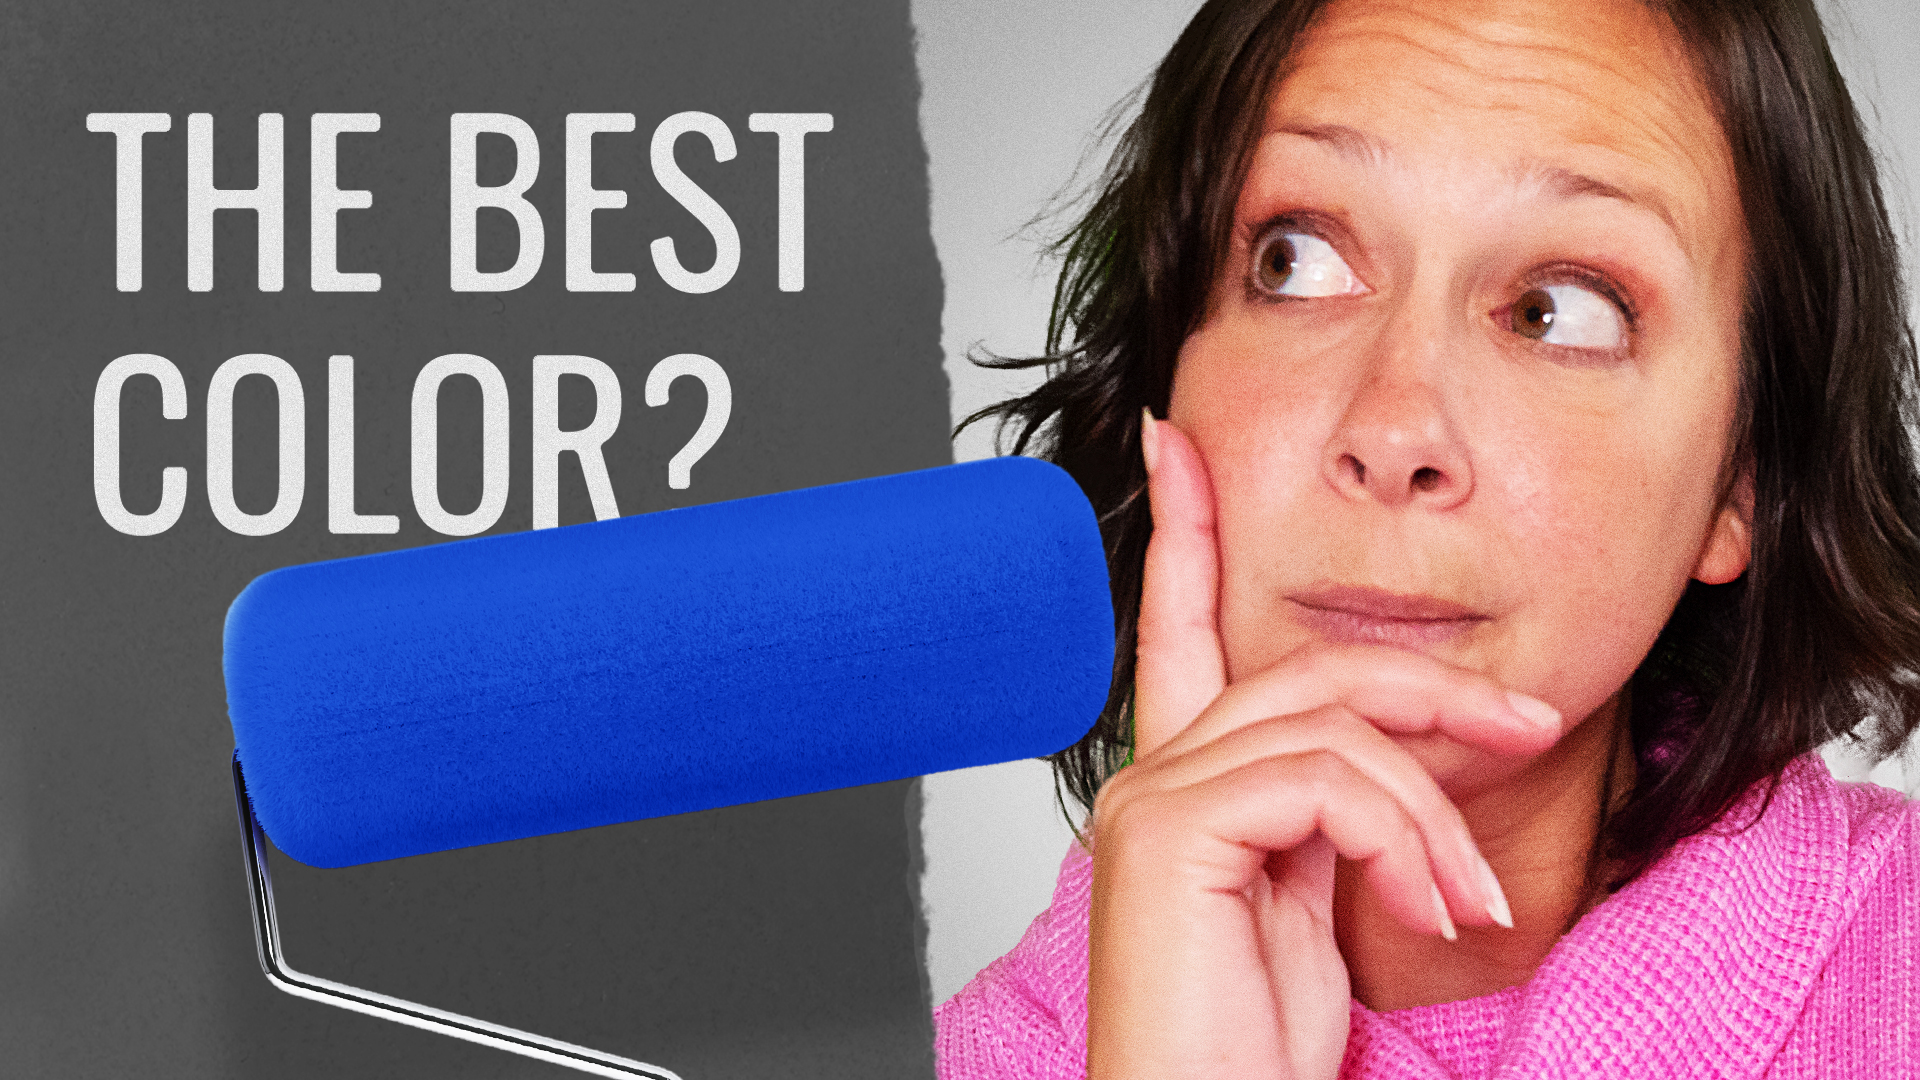
Today, I’m going to show you how to go from this to this!
Want to know how to get that beautiful, blurry background look in your videos or live streams?
Well, that is what I’m going to show you today.
You’re going to learn how without having to be an expert in cinematography.
I often get asked if my background is a green screen.
Well, you got me…But it’s not! Can’t you see?
That nice, soft, blurred background effect that you’re so attracted to is called bokeh or bo-kah. (Cinematographers, photographers, they can’t decide and they gotta have different words for everything.)
I don’t know. You tell me, which side are you on? Leave a comment below.
So if you ever hear somebody say, ooh, that lens has such a nice bokeh, then they’re referring to the background being out of focus and besides it just looking beautiful and awesome, it can actually really help the audience focus quite literally on what’s important.
And that’s you.
Or it’s perfect for demos where you can highlight a product just by bringing it into quick focus.
But how exactly do you get that look?
Well, in order to get a blurry background for your talking head videos, you’re going to need what’s called shallow depth of field.
So depth of field is the distance between the nearest object in focus and the furthest object in focus. Side to side does not change here. We’re just talking the distance from the lens.
So a shallow depth of field is where anything within one to two feet is in focus and anything behind or in front of that is blurry. But if you have a deep depth of field, then more things are going to be in focus. Anywhere from potentially two to 15 feet can be in focus.
So, for example, right here from me to the back wall is in focus. So I can be here and in focus or I can be here at in focus.
Abbey says if you’ve learned a thing or two, go ahead and hit subscribe and turn on that bell notification so you can get more, right Abs?
But if I set the lens to a short or shallow depth of field, then I’m only in focus when I’m about two feet from the camera lens. But as soon as I start to move backwards, you can see I’m starting to get out of focus.
OK, so how do you get that shallow depth of field exactly?
Now, before we go any further, a quick vocabulary lesson. The word of the day is aperture. Aperture is the opening and a lens that controls the amount of light coming in through the front of the lens and hitting the sensor inside.
Essentially, it’s like a dilating pupil where it gets bigger and smaller, lighting more or less light in.
So the amount that the aperture is open is referred to as the F-stop. Now, when you’re buying a lens, you’re going to see a whole bunch of numbers like f1.4 f1.8, f5.6, that is the F-stop.
And I promise you, you don’t need to understand how those numbers are calculated because it’s all math and we’re not mathing around here.
What you do need to know, though, and this might seem a little backwards and weird, but the lower the F-stop, the wider the aperture is open. And this is the important part.
The wider the aperture is open, the easier it is to get that blurry background. There is a trade off, though.
The wider you go, the area of focus gets shallower. So this is called a focal plane, meaning if your eye is in focus, your ear may not be so if you move around a lot, come in and out, then you can have a problem.
But keep in mind, so I decide not so much of a problem. So you just got to find the right balance for you want as much blur in the background without throwing off your focus.
Here are three steps to get your blurry background.
Step one, get the lens with the largest aperture size you can afford.
Getting the right lens for your camera is going to make all the difference in the world. Now I use the Sigma 16mm f1.4 wide angle lens, and that happens to be one of the most popular for live streamers.
Quick side note. I’m using the Sony A6100 so I have a Sigma lens with the Sony E mount. If you have a Canon, Panasonic or any other body, make sure you get the right mount for it.
So a lens like the Sigma f1.4 means the aperture can open really wide. So you can have a really great shallow depth of field, easy peasy BOOM.
Step two, get as close to the lens as you can.
So the closer you are to the lens and the camera, the more blur you’re going to get in the background…Too close?
So I’m exactly two feet away from my camera. So everything behind me is blurry, out of focus, super soft.
But if my camera was further away from me, it would be harder to separate me from the background. In this studio my background is fourteen and a half feet behind me…Or two and a half Kalis.
Now you can get a blurry background with only a few feet behind you. It’s just the more space you have, the easier it’s going to be.
Separate. Get away from the background.
As far as you can now, if you don’t have a ton of space, then here’s what you’re going to do. Make sure that the amount of space behind you in between you and the background is greater than more than the space between you and the camera to get that nice, beautiful bokeh, then you’re going to start by getting the right lens, the one with the widest aperture you can find.
And you’re going to do that by finding the lowest F-stop that you can afford, something like f1.4. That would be fantastic. Or even f1.8, 2.8 or 3.2 can even work, then make sure that you’re as close to the camera as you can get and as far away from the background as you can get.
And that’s it. Oh, and before you ask, because I know you’re going to you can’t really get blurry background from a webcam or a phone camera just because of the sensor size of those cameras.
I just didn’t want you to waste a whole bunch of time trying. But that’s beyond the scope of this particular video. So we’ll tackle that separately now that you’re playing around with your aperture. You may have to adjust your lighting.
So definitely check this video out where I’ll help you get the best lighting for your videos and live streams and make sure if you have questions, you join us on our live streams.
https://www.youtube.com/watch?v=84kn1n4PrKw
I’ll see you there!


