Fast, easy and inexpensive way to build your YouTube video studio backdrop.
You ready? Let’s roll.
One of the biggest struggles people face is the video background, what to put in the background, how to light it, what things may make sense for your content, and it causes a lot of people a lot of stress.
Whether you want something that’s inexpensive and easy or you don’t have a lot of space in your room, this is an ideal solution for you.
There are only two things you need for this set up.
Number one, a photography backdrop.
Now, this is a big roll of paper that literally rolls down and just gives you a flat space in the back.
Number two, a light of your choice.
You could go blue or green, get a little sunset going on, or a simple white.
If you choose a darker paper color, you can have whatever color you want in the background or even go party mode.
Let’s go!
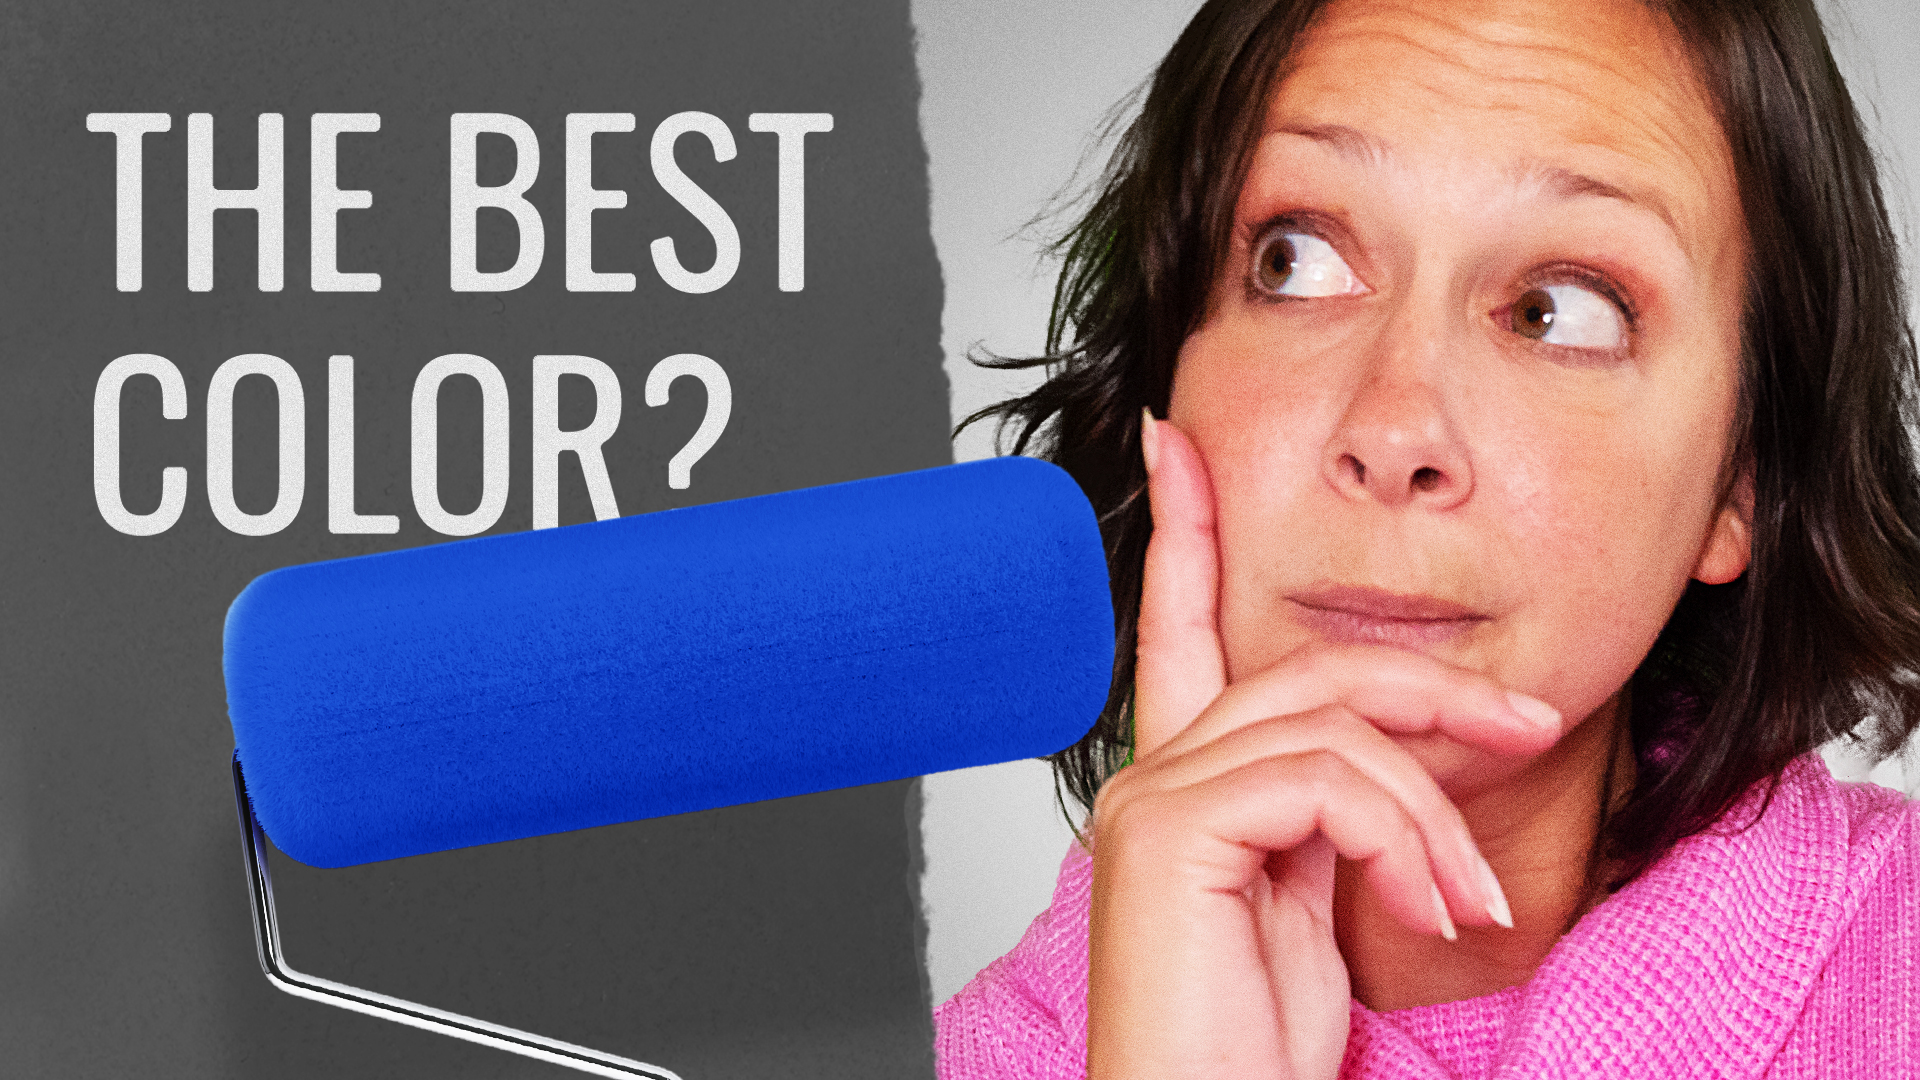
Pro tip! The color of the paper you choose can drastically change the visual experience your viewers have.
We chose Thunder Gray number 27 because there’s a lot of flexibility with this color in terms of how it absorbs and reflects different colored lights.
In other words, it allows us to use RGB lights.
Link to the lights and the backdrop in the description.
Let’s talk mounting options.
Number one, a photography backdrop mounting kit.
You’ve got two stands on either end, and there’s a rod that goes in between and the paper hangs on it.
Cons of this set up is that it takes up more floor space, and as you can see, it’s a little wobbly and unstable.
EEK!
You can use sandbags or water bags to stabilize the stands, but the quality of them itself is pretty cheap, but you get what you pay for.
It’s only about $50.
Mounting option number two… Varipoles.
For around $350, you can get everything you need, including a single roll of paper, and you can upgrade your mounting system to hold up to three rolls of paper if you want color choices.
The pros of this set up is that it takes up much less floor space and you can move it anywhere you want.
Plus it’s more secure.
If you’re not familiar with what a Varipole is, these are just tension rods.
They go by different names, by different brands that go from floor to ceiling, and they kind of look like dancing poles.
The cons of this set up is the extra cost involved, and if you have drop ceilings, you do need a special adapter.
The number three mounting option is what I’ve gone for in my studio.
I live in a very small 850 square foot studio apartment, and this is not only my studio, it is also my home environment and living space, so I didn’t want anything on the floor.
So this gives you a lot of flexibility in terms of how you want to shoot videos.
I can either have my normal backdrop or I can have a paper backdrop just by bringing it down.
And another pro is the cost.
It’s only a couple of $100 versus the $350 for the Varipole setup.
The only con of this set up is that you do have to mount it to your ceiling.
So if you’re in an apartment situation like me, you have to be willing to fix those holes.
And it’s not portable.
You cannot move this anywhere else.
It is stuck to where you put it.
All you need for this set up is we went to the hardware store, bought some metal pipe, had them cut it down to six inches.
We got a one inch floor flange.
(Yep, that’s what it’s called) a Super Clamp and a Manfrotto single hook set.
And of course, we needed a drywall stud anchor.
Everything we bought is listed in the description.
There’s actually one more mounting system that I wanted to talk about.
If you buy the roller kit, it comes with these single hook mount system, just like what we use with the Super Clamp, the ones by Manfrotto.
These do not connect to a Super Clamp.
These connect directly to a wall or ceiling.
However, there is zero room for error in mounting needs.
The spacing of these holes are nearly exactly the width of a stud.
So be careful mountings if you go that route.
But that’s not really the reason we didn’t use these.
We didn’t use these because we wanted to have a little bit more options down the road.
So it’s a system that we went with gave us the opportunity layer to maybe add a second or even a third paper backdrop roll.
And that way, we’re just not restricted to one set up.
But if you don’t want to spend any extra money outside of the kit, they do come with this.
It is worth mentioning.
And if you are wondering, this is just a solid purple backdrop paper.
There’s no light behind me.
I’m only being lit by one single light source right off to the side.
Pro tip when you have the paper rolled down, It will have a tendency to want to roll right back up.
So all you need to do is get metal spring clamps, hang three of them on the bottom of the paper and it will provide enough weight to keep that paper down.
Same for when you roll it up.
It’ll keep it nice and tight up there.
Now you know how to create a simple,
Easy and inexpensive video backdrop for your YouTube studio.
And if you want more studio building tips,
Check out this playlist right here and dig in.
Get creative.
Remember, this stuff is only personal preference.
So there is no right or wrong.
Have fun.


