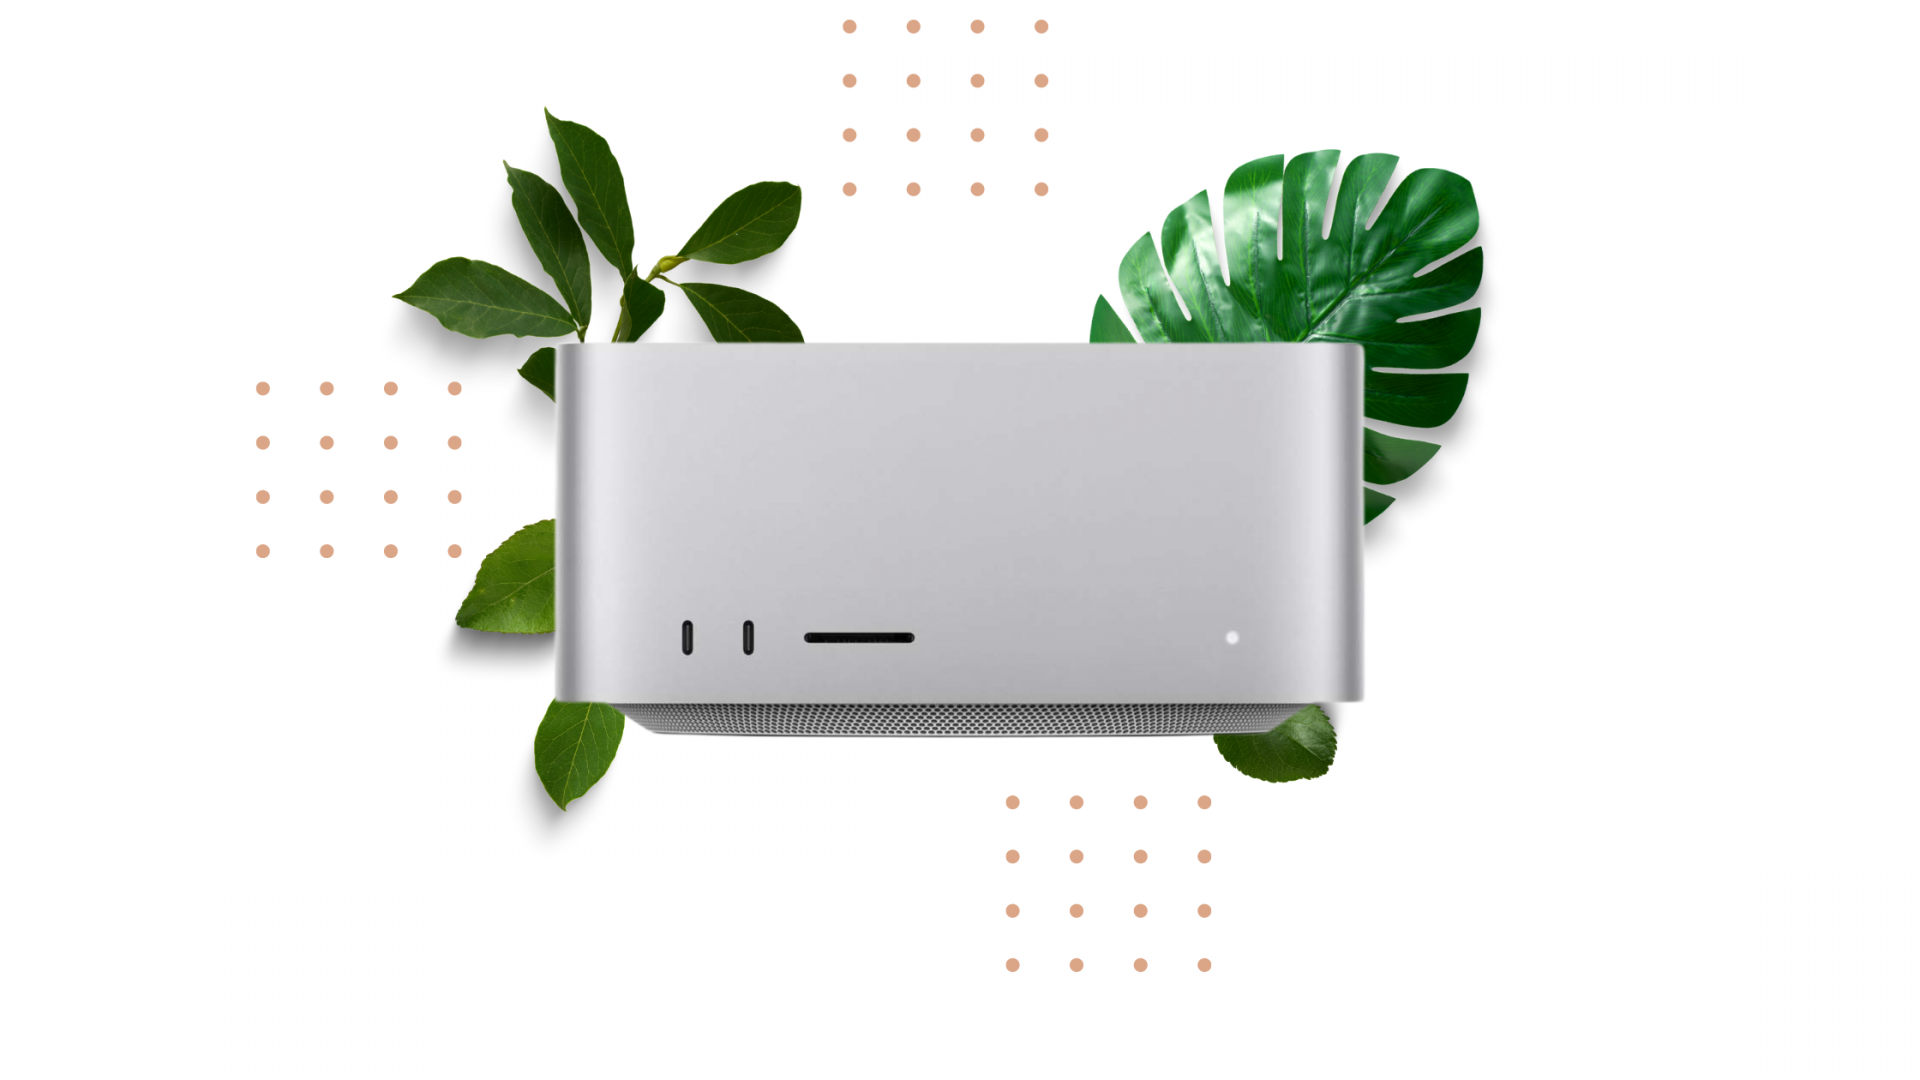
The Mac Studio is finally here! You know what that means....
STUDIO UPGRADE!
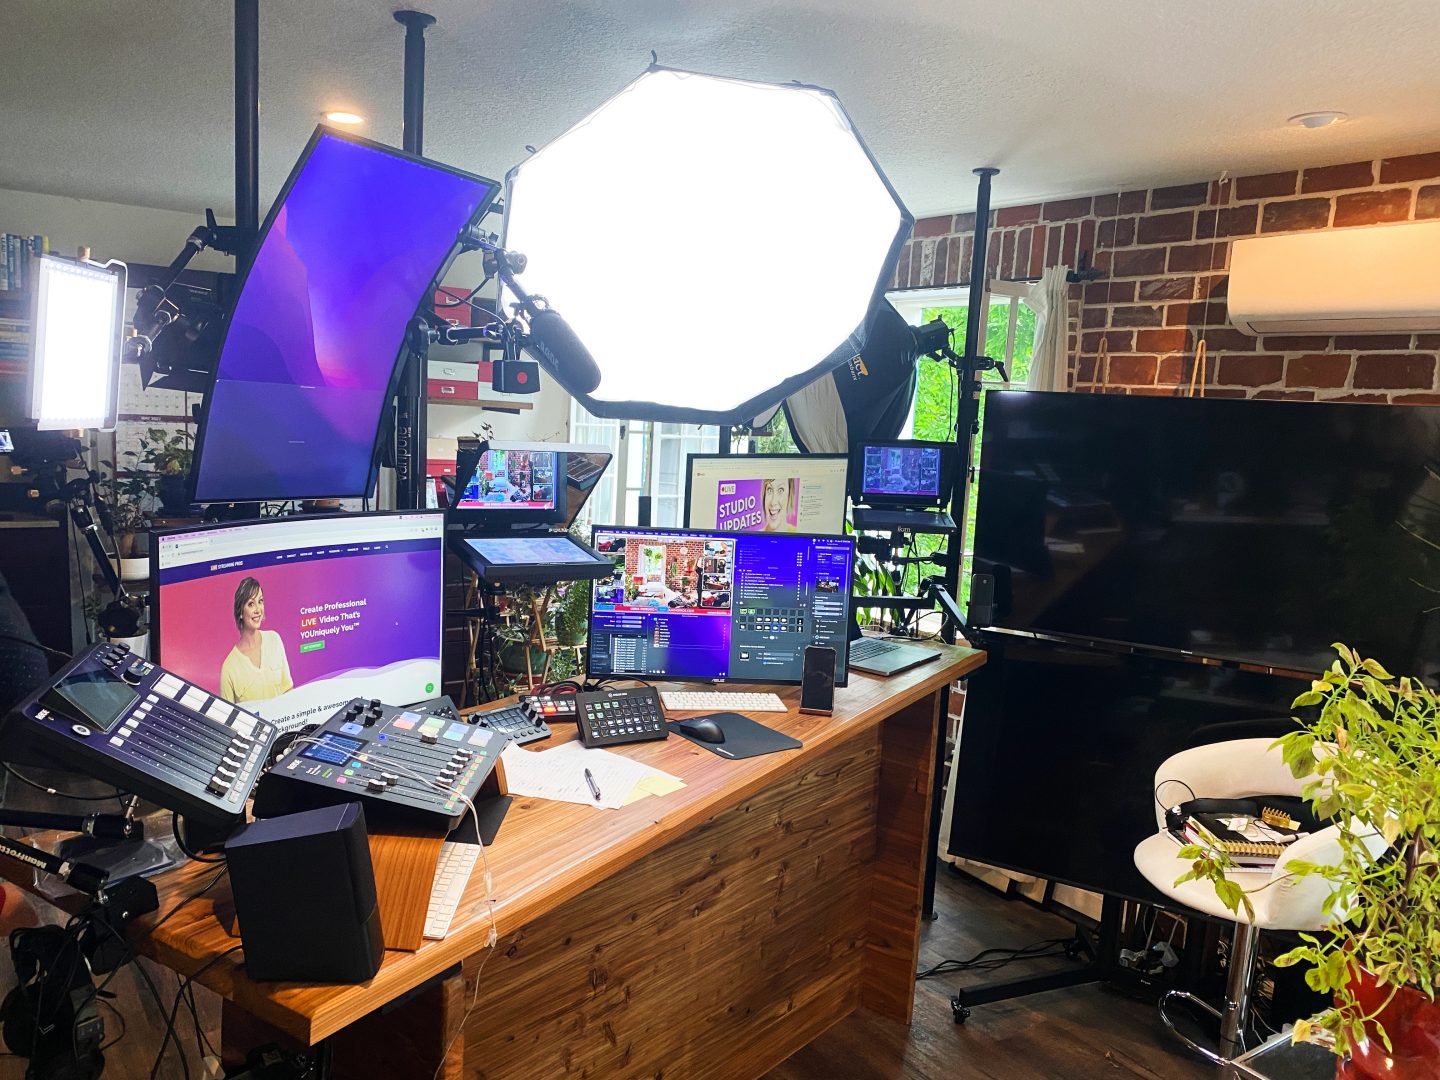
The Friday live streams are about to get a lot juicier I tell ya what! Not only did we get the Mac Studio in production, but new monitors and audio equipment too! And that’s not all; there is also a “test station” where I’ll be testing NEW products EVERY Friday!
The studio isn’t completely finished yet, but I wanted to show you what we had so far – to give you some awesome things to look forward to, and inspire you to spruce up your studio, too!
In this post, we’ll cover…
- Gear used
- The planning process
- Lessons learned
First, we started unplugging all the gear we either weren’t sure we’d need anymore or already had a plan for – what a headache. It goes without saying, but make sure you have plenty of room to sprawl your cables out, and KEEP. IT. ORGANIZED! We used the label maker like it was going out of style. (I’ll share some cable management hacks with ya later in this post!)
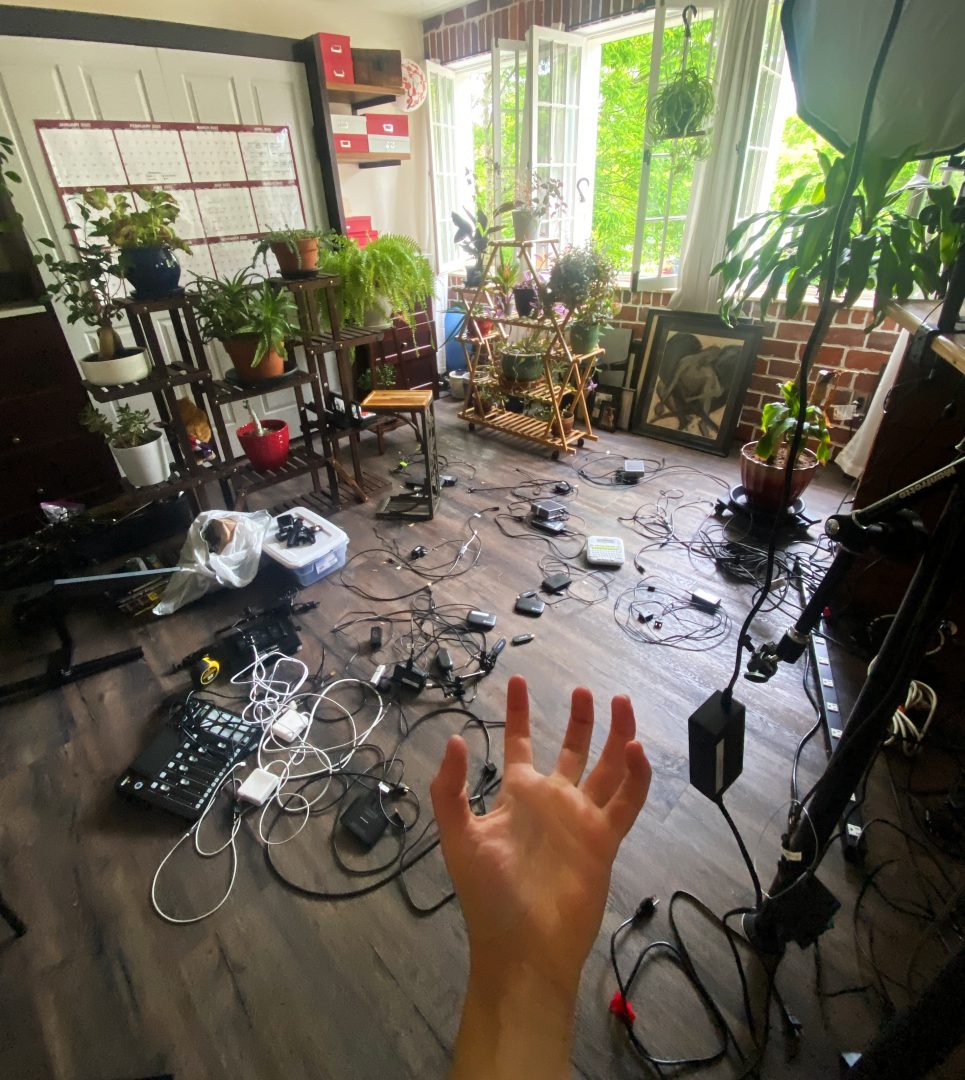
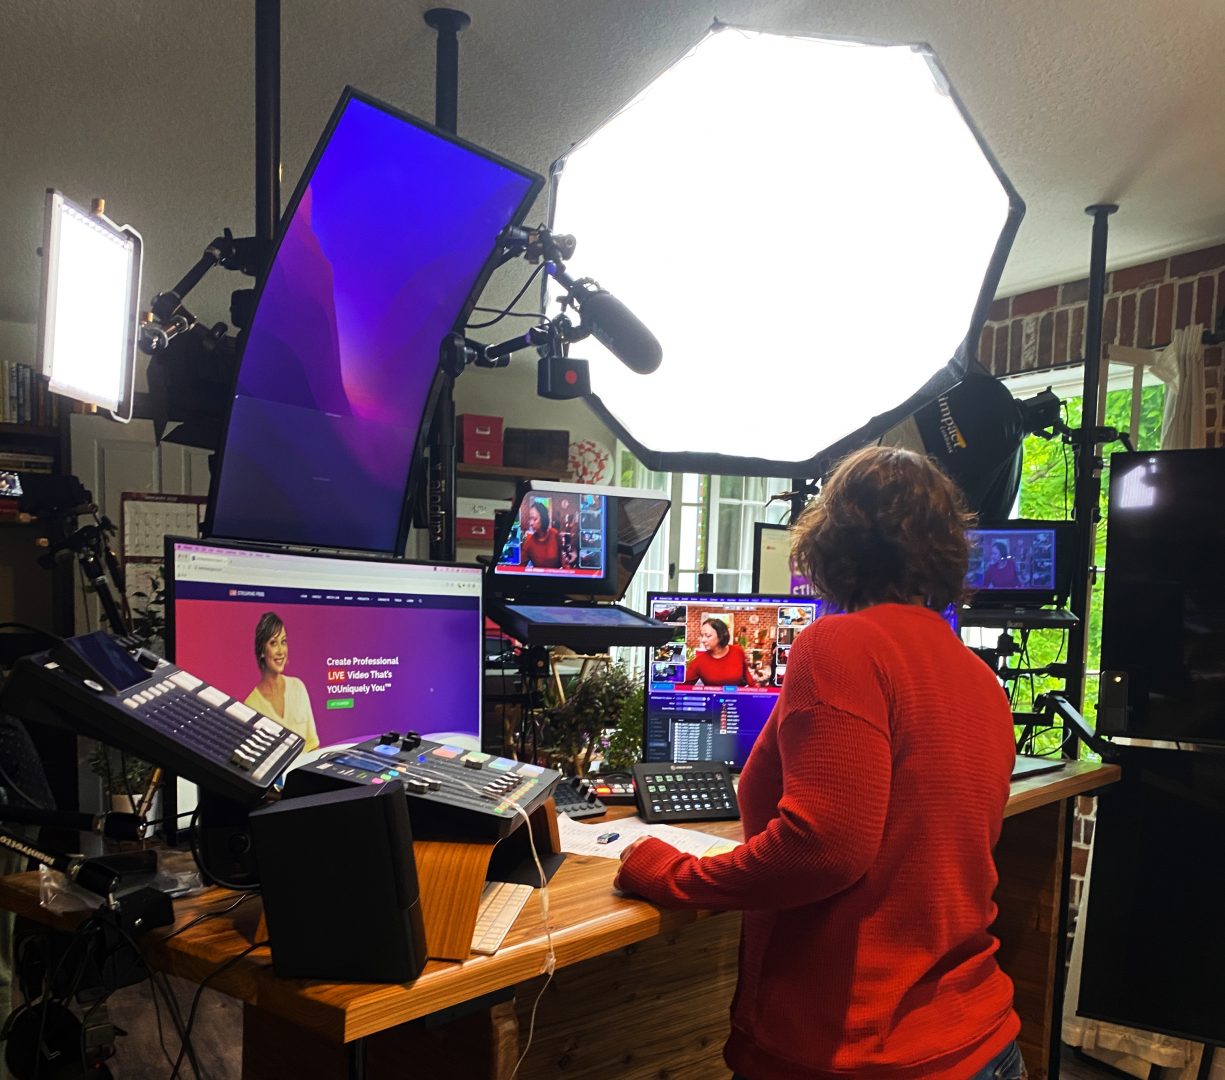
After unhooking everything, the first thing to set up was the new teleprompter! A teleprompter is a MUST for me because it makes content creation so much more efficient, and when you’re creating content AND running a business, efficiency is #1. It was important to start with the teleprompter placement because it was going to hold my main production camera, and so the placement of other equipment, like monitors, depended on where the prompter went.
The Glide Gear prompter was replaced by Prompter People’s Flex Plus. I immediately noticed the weight difference; the Flex weighed more than the Glide Gear, which I was already having issues mounting due to proper weight distribution.
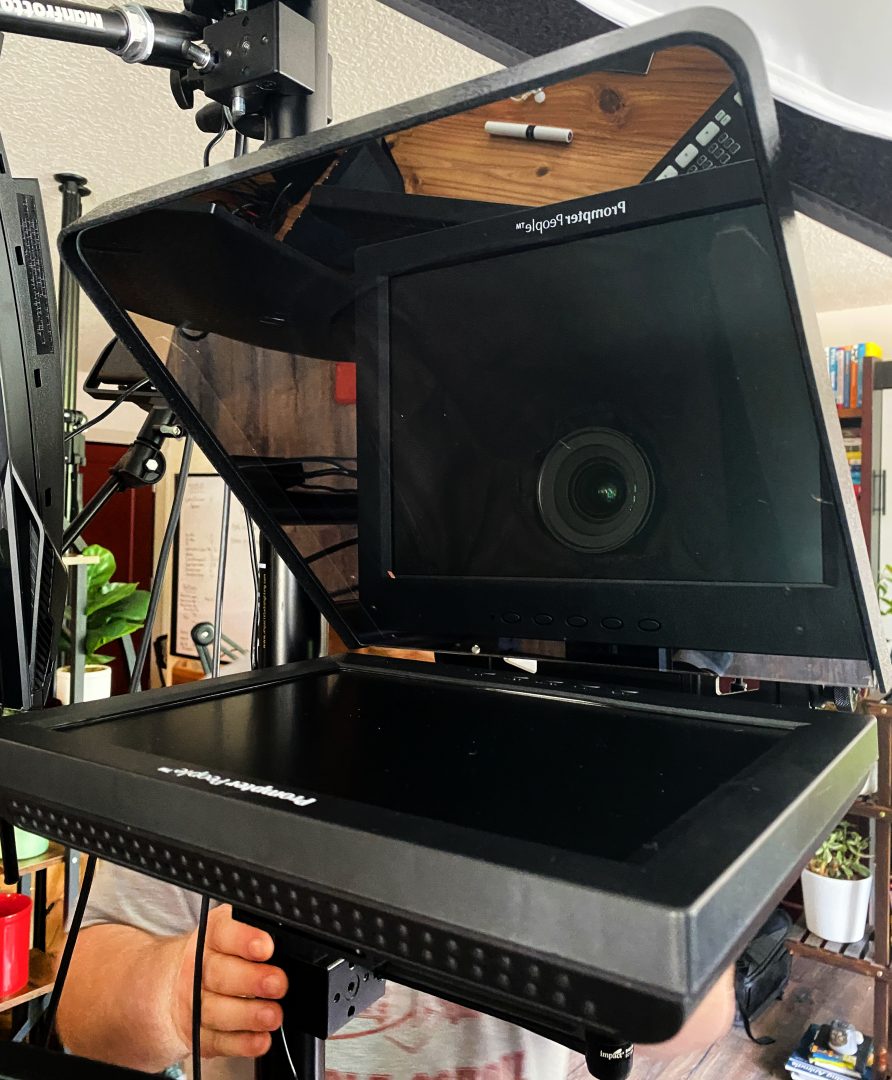
The mounting system I originally had in mind was not going to hold all that weight comfortably. So, we needed to figure out a new mounting system that worked with the Varipole and allow for the correct camera angle. After about three hours of trial and error, we finally found the perfect mounting system – and it’s CHEAP and SIMPLE! (What more could you ask for??)
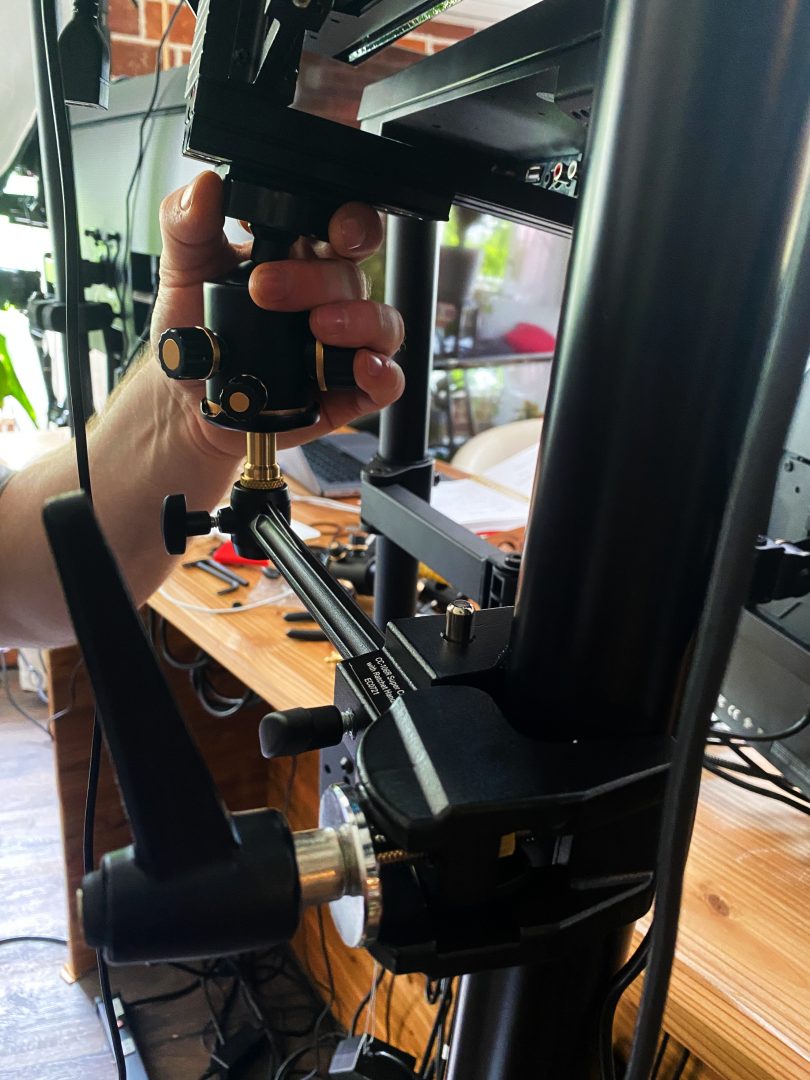
The Impact extension arm was the perfect solution and achieved exactly what we needed it to do. I cannot recommend this mount enough if you’re a prompter user!
We kept the Varipole to help keep weight off the desk, and allow more desk space in general – a MUST!
Mounting gear:
After overcoming the prompter mounting issue, it was time to tackle the cameras! Remember all those cameras I had before? Well… now there are even MORE of ’em (*cough* 11 *cough*).
Now, is it necessary to have multiple cameras in your studio setup? Of course not – but it does allow for flexibility with your content creation. It helps easily create pattern interrupts by being able to switch from one camera to another; it’s a great way to naturally break up your video and keep the viewer engaged!
Some of the camera angles have changed, like the Sony ZVE10. The ZVE10 used to be a behind-the-scenes view of my main studio, but now it’s pointed directly at the new Test Station (my favorite part of the setup). The test station is where we’ll be testing all new products LIVE, on the Friday shows, in our new segment “What’s in the Box?!” This angle allows for the perfect behind-the-scenes shot so you can have a full look at the test station in action (once it’s finished)!
Cameras
So, what’s the audio situation?
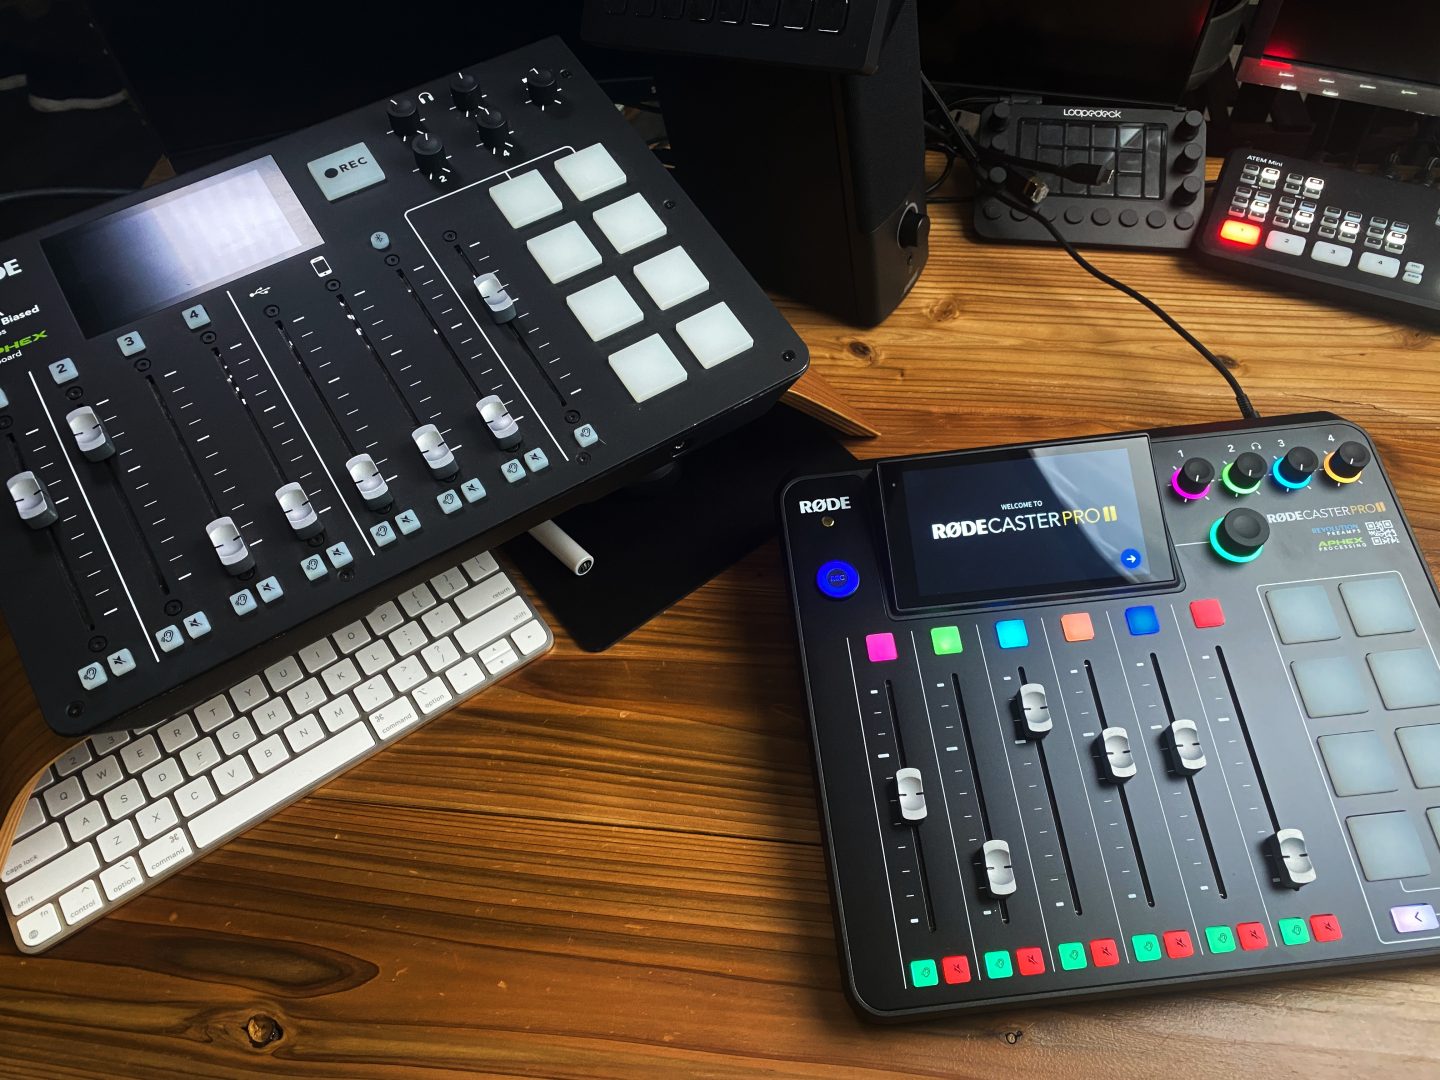
For audio equipment, we mounted the new Rodecaster Pro 2. Once we get the firmware updated on that bad boy, the Rodecaster Pro will be out of commission from the main production (don’t worry – we’re not getting rid of it)!
I’m still using the Rode NTG4+ shotgun mic for my main audio source, and the test station is currently sporting Deity’s VO-7U USB microphone!
Audio
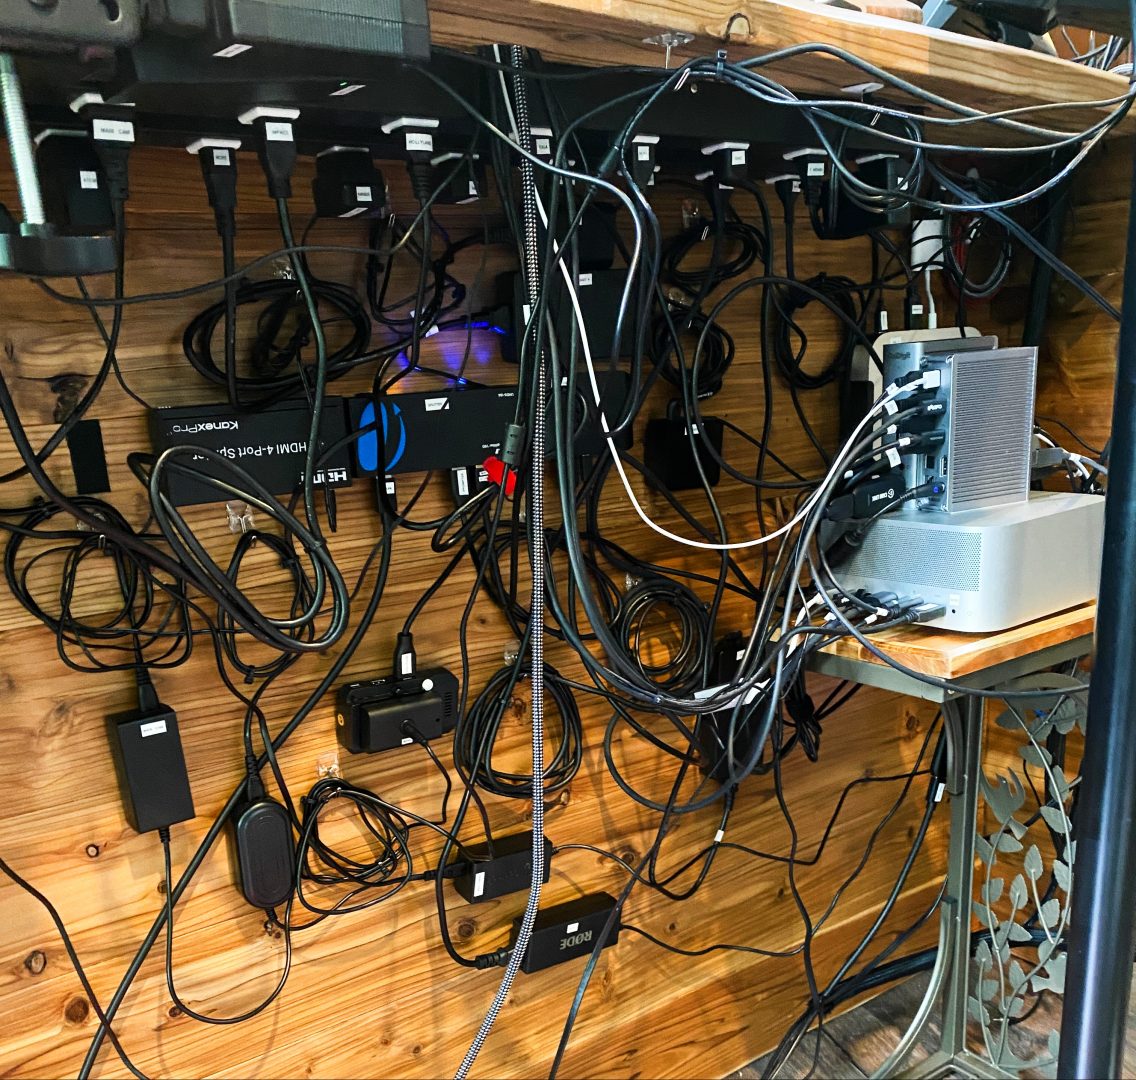
Now let’s talk cable management – As you know, wireless is NOT recommended for live streaming; there’s just too much potential for something to go wrong while you’re streaming or trying to record a video. Things not being fully charged, disconnecting/reconnecting, et cetera – just a bunch of headaches that none of us have time for. That being said, cables are your best friend and worst enemy. Cables are way more reliable, however, they’re also way messier. Cable management is an absolute MUST in any studio space.
PRO tip: Do temporary cable management, using velcro, as you set up your studio; and once you’ve finalized placements of everything, replace the temporary holds with something more secure, like zip ties.
Cable management
So, there’s still more cable management and organization to do this week, but I wanted to give you a little sneak peek into what we have finished so far! It’s going to be a total game-changer for my video creation process AND live streams – get ready for a whole lot more fun! What studio upgrades are you looking forward to? Let me know – I want to hear all about it!