Hey, it’s time for another studio build.
Today we’re going to go from this to this.
Let’s go.
So the studio build we’re doing today has a couple of challenges.
The first is Mark wanted several different looks, three specifically to accommodate in a one camera set.
It’s a one camera set because of the second challenge, which is this is not only going to be his shooting studio, but it’s also a bedroom, we had to make the background disappear.
So in the ceiling, we installed three photography paper backdrops, a white roll, a green roll, and a black roll.
And because the ceilings are so high, normally these paper rolls have a large chain that hangs down the end so that you could pull them up and pull them down via the chain.
But the ceilings here are so high that we put a motorized system on here, so they’re all run by a remote.
So now Mark can change the background to any of the three paper rolls just by using the remote.
He doesn’t have to get up on a ladder or anything, and it effectively wipes out the bedroom part of the room.
And he’s just left with a studio backdrop.
For lighting the backdrop, we mounted Led lights hanging from the ceiling.
Again, because of the tall ceilings that could be mounted high above the head.
So it’s not in anybody’s way walking around the room.
There’s two large flat panel LEDs to light the green screen backdrop hair light, small Led panel.
Another small RGB Led light to light the black paper with a nice color glow.
So he can just choose a color that goes on in the background.
He’s happy with blue right now.
So all the lights are on a remote so that he can turn on his lights while at the desk, turn the front lights on in front of him.
And when he has the white paper, he can turn the lights on the Led panels to light that.
And he’s got look number one.
With the green paper down.
The back lights are still lighting that wall, so it could be used as a key.
And he has an added hair light, which you can turn on to help separate him from the background.
And with the black paper down, he can turn off the overhead lights and turn on the backdrop light, creating a nice glow around him, which is a totally different mood.
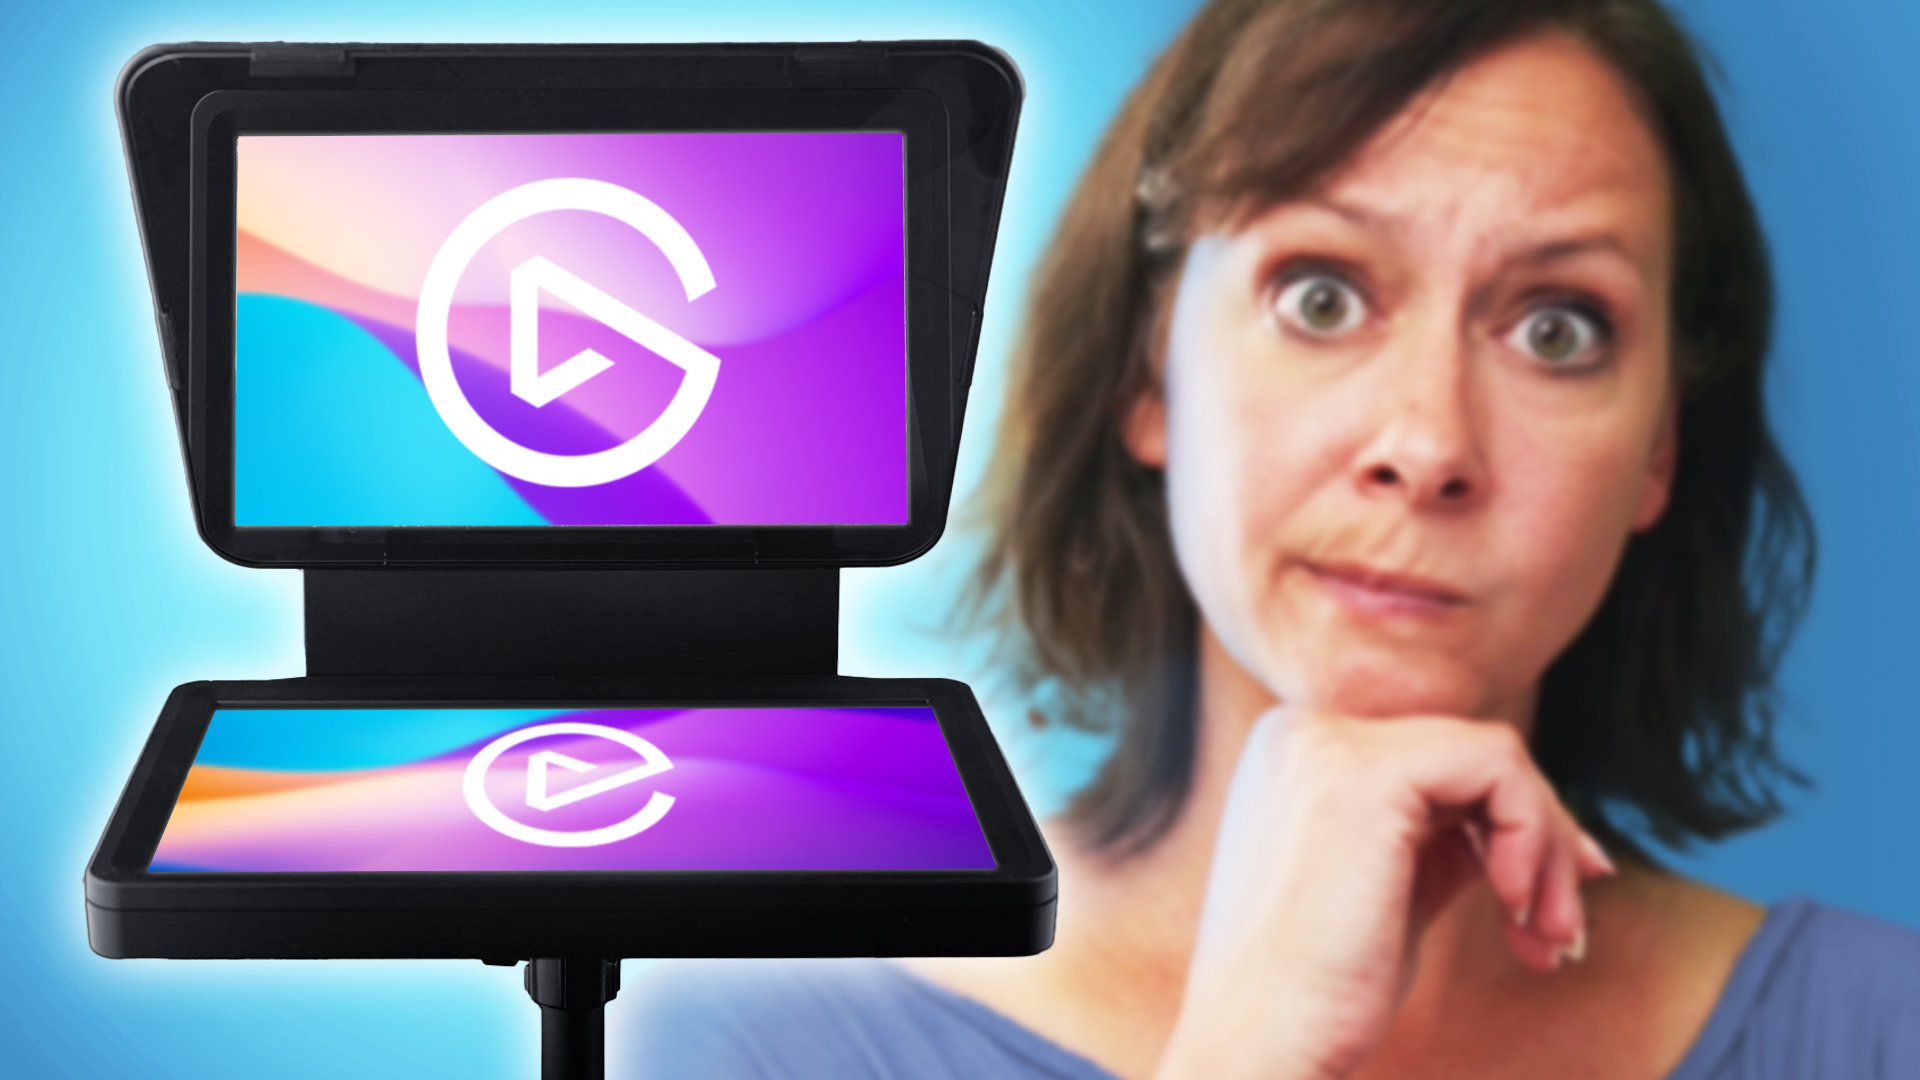
Up at the desk, we have two Dracast Led panels lighting his face with a teleprompter and two monitors on either side of the teleprompter.
The teleprompter is used so that he can look directly at his audience while he’s going live.
Mark is a singer, so on his channel, he brings in audio through his eight channel mixer.
He’s got several microphones around.
He plays background music through an iPad trigger using a stream deck to switch scenes.
And there you have it.
A deceptively simple studio build with a couple of tricks up its sleeve.
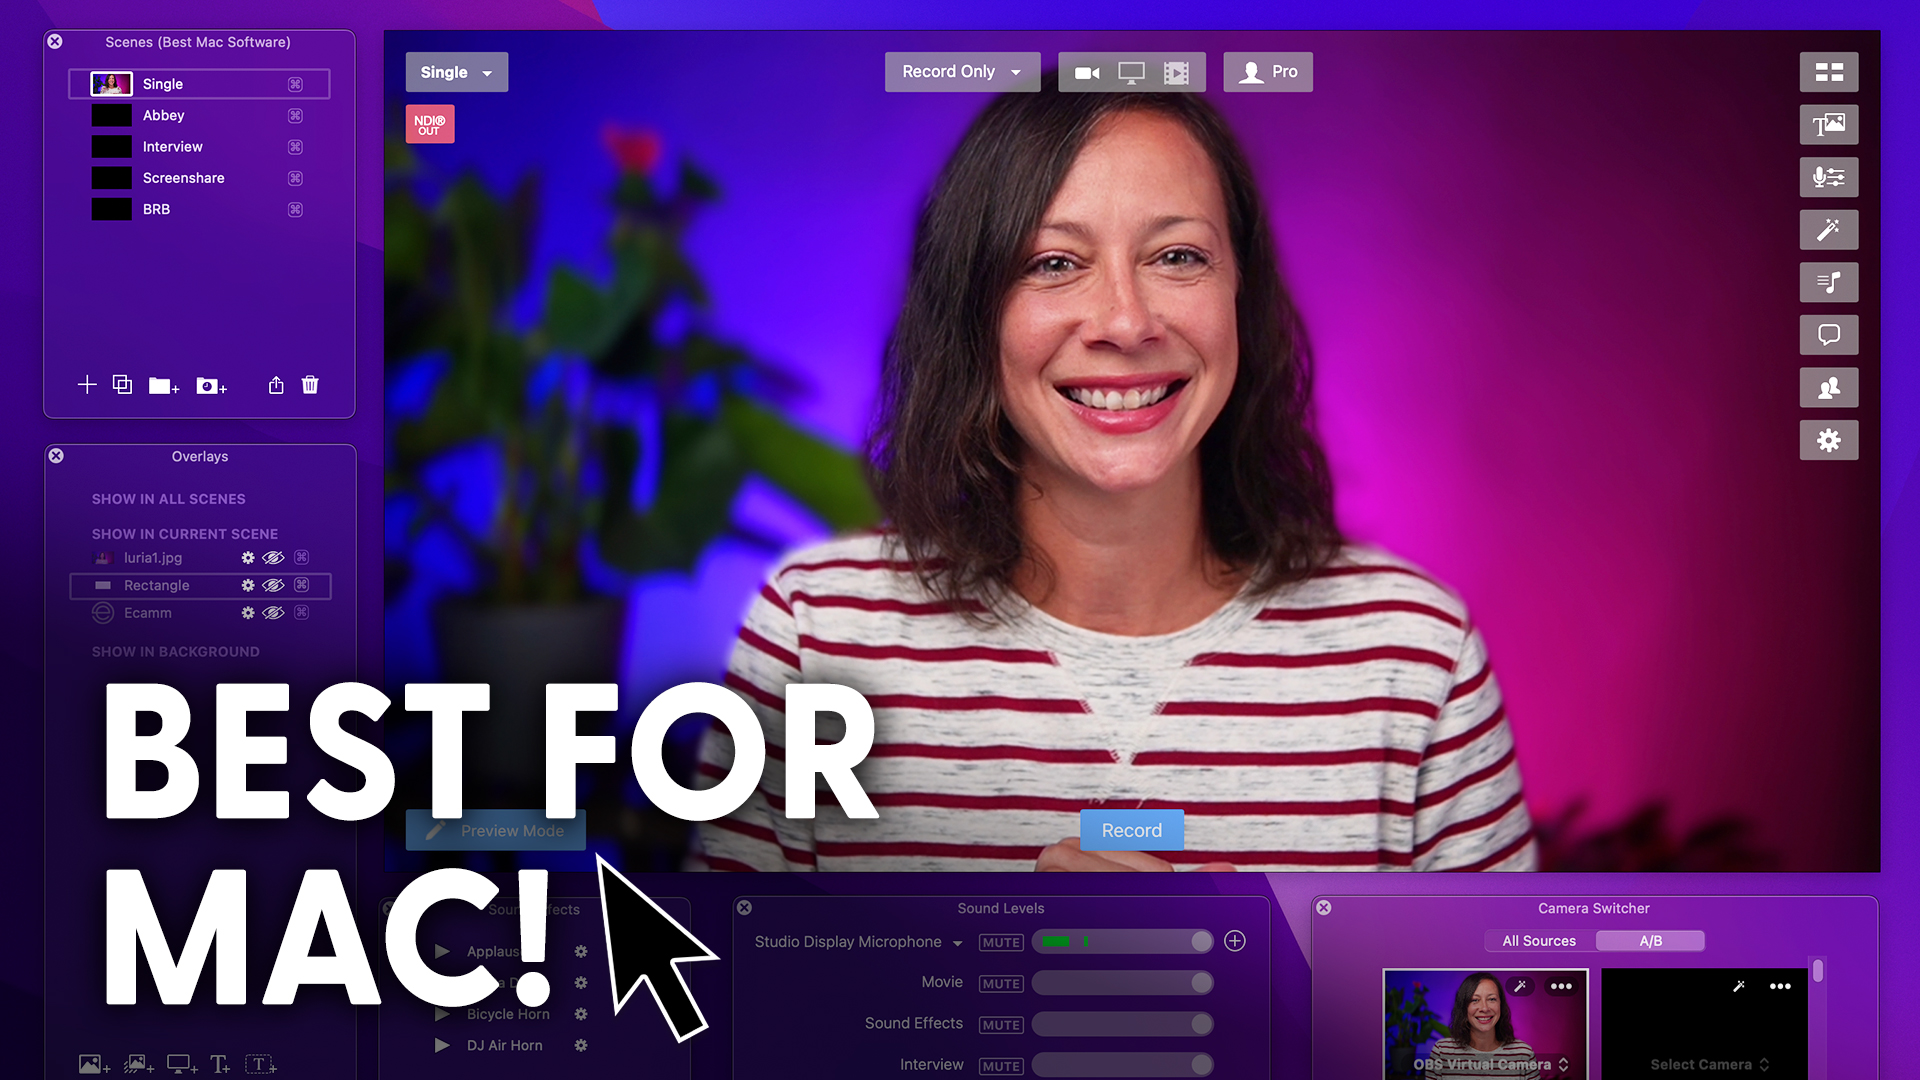
So there’s three different looks, all remote controlled from the desk here, so it can be a one person production all through one Mac and Ecamm.
If you have any questions on this build, drop a comment below.
And I hope this inspires you to do something cool in your space.
I’ll see you in our next studio build.


