How to live stream with the Canon M50 Mark II.
This is a complete step by step walkthrough of the Canon M50 Mark II settings so that you don’t miss anything and cause frustration when it comes to live streaming.
And stick to the end, because I’m going to show you the different ways to connect your Canon M50 to live streaming software. We’ll talk pros and cons.
Let’s dive right in and look at the most important settings for live streaming with your Canon M50 Mark II.
Click that physical menu button at the bottom of the camera, then you’re going to see five tabs across the top.
We want shooting settings first, so click OK by clicking the set button in the middle of the scroll wheel.
In sub tab 1, click on shooting mode by choosing the set button.
By default, it’ll be on auto exposure, go ahead and click manual exposure.
So if the camera’s on auto then it might actually auto adjust the exposure while you’re live, changing the look and feel of your video. And that’s not a good thing.
Set it as low as it can go and if you need to adjust it up later, you can do that right here.
Click OK by choosing the set button again, then you’re going to need to actually go backwards in the menu by clicking the menu button.
Now scroll down to Auto Lighting Optimizer and make sure that baby is turned off.
In sub tab 3 we’re going to adjust the white balance. We want to turn off auto white balance and instead of set it to match the color temperature of the lights that you’re using.
Now, there are a number of presets here, but scroll over to the K and then use the scroll wheel at the top of your camera.
If you’re using daylight bulbs, then 5600 is a great place to start.
What you’re looking for here is a nice skin tone. You don’t want it looking too blue or too yellow.
Now in the same tab, move down and select picture style.
Again, lots of options here, but I like to remove the higher saturation and contrast that can Canon has on by default and set the picture profile to neutral.
Are you finding this video helpful? Yay, we did our job!
Go ahead and click the subscribe button and turn on bell notifications so you don’t miss a thing.
We don’t need anything in sub tab 4 just move on to 5.
You’re going to make sure that AF method is set to autofocus PLUS face tracking.
All right. In sub tab 6, make sure that the movie servo AF is enabled.
There’s nothing to do in sub tab 7.
So moving right along to 8 under IS image stabilizer mode, we can disable digital IS, because if you have your camera locked off on a tripod, there’s no need for this.
And if it is enabled, it actually crops in the image of it.
Don’t get bored yet because this is one of the most important settings for live streaming and that’s clean HDMI in tab 9.
Without clean HDMI, you’re going to see all of the info there on your live stream.
So in tab 9, go to HDMI info display and select clean FHD.
Now you are ready to output a clean feed for your streams back in the main menu.
Well, tab two, three, four and five. You’re all good.
You don’t need to do a single thing now that you have your camera all set up.
There are three different ways you can connect it to your live streaming software.
Option number one USB connection.
If you don’t have a capture card and you want to connect the Canon M50 Mark II to your computer via USB to live stream, you can do just that.
But you’re going to need to download and install the Canon EOS Webcam utility software. (That’s a mouthful.)
Option 2, Ecamm’s direct connection.
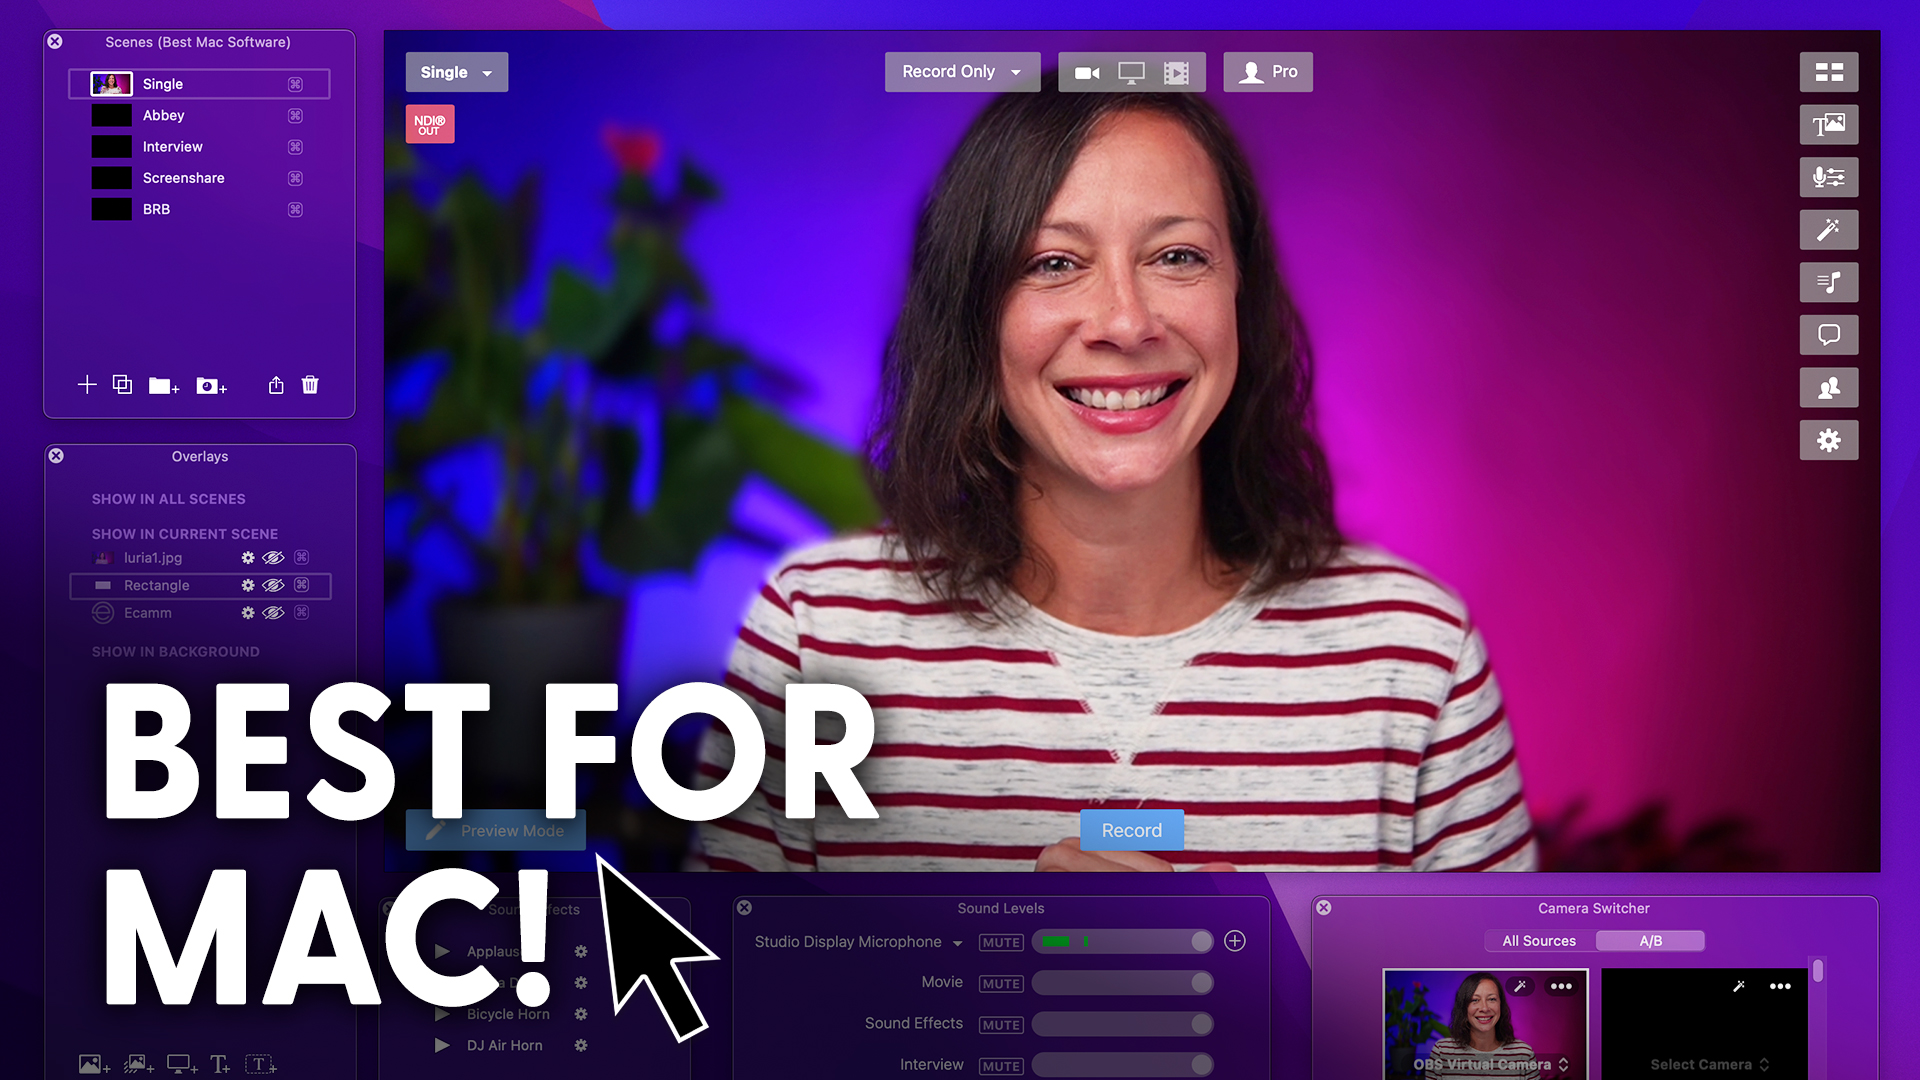
So if you have a Mac and you’re using Ecamm Live, it should recognize the Canon as a webcam without the EOS webcam utility software.
Option three, a capture card.
But this is important, so I’m going to repeat it. You’re going to get a higher quality and more reliable image if you plug the camera into a capture card using HDMI. And then plug the capture card into the USB port of your computer.
I highly recommend you go this route.
Either way you connect, it’s really nice that the Canon M50 Mark II has a fully articulating screen so you can swing it around and use it as a confidence monitor if you don’t have one in your studio.
But be aware that you won’t see all your fancy graphics and interview guests from the camera screen. You would need a confidence monitor for that purpose.
Now that you know the settings for the movie, your next step is to watch this play list so you can up level your entire production and get really pro.
What I mean by that is join us for a live Q&A some time.
If you have questions about your live streaming setup.
I’ll see you in the next video.


