The benefits of a dual computer streaming setup.
Whether you’re talking about a PC setup or a Mac set up, we’re going to dive into both.
And in fact, you could actually combine both a PC and Mac setups, if that’s something that you’re interested in.
These are great for presentations, for gaming, video games, for webinars, for demos, for lots more.
And we’ll talk about what you can do with a dual streaming setup or dual computer streaming setup.
And we’ll talk about why you would want to.
And I’ll also show you exactly what you need to be able to do.
So let’s dive in.
So you’ll actually see that I am actually using this set up right now.
This is a presentation, a Keynote presentation that is coming into my stream from a completely separate computer than what is streaming out right now.
So I have two computers, a laptop and an iMac that are running this entire presentation.
So I’ll show you how we actually do that.
But let’s talk about why you would want to in the first place.
Why would you want to add extra gear into your studio set up if you don’t have to?
Well, the benefit and biggest benefit of this is actually the fact that it offloads a lot of the CPU usage.
The computer power.
Your streaming machine, the one that you have your software on that is sending that signal out to your live stream.
It’s taking a lot, right.
So it’s a heavy load just to stream and send that signal out and do all of the graphics that you’re looking to do.
So what you can do is actually offload a lot of that power or resources onto a secondary computer.
And then that helps your streaming machine stay focused because computers focus, but also stay clear of any of being bogged down with extra work that isn’t necessarily necessary.
And your streaming computer needs to be a really good machine.
However, your secondary machine, whether it’s a PC or a Mac, doesn’t actually have to be as good as your other machine.
So if you have an old computer lying around, I have two of them that I use for these purposes.
You can bring that in, and it doesn’t have to be a beast of a machine.
So that’s really super helpful.
So some things that you can actually do with this are presentations like you just saw me do like a Keynote presentation.
Let’s say you’re going on to Zoom to do a speech or a presentation for your company or whatever the case may be, you could do this, bring your entire production into Zoom and wow everybody on Zoom, right?
Get rid of that Zoom fatigue.
You could use this for gaming.
So if you want to play a game really super helpful, especially since gaming and streaming are two of the most resource intensive types of activities you can do on a computer. Separating the two and not letting them play together is actually really beneficial.
You could also demo.
Let’s say you’re doing a demo of any kind, but even let’s say we’re talking about combining a PC and Mac.
Let’s say you want to demo an operating system that is a different one than you’re streaming on.
Or you could do a demo of any kind that you can think of on that secondary machine.
So what would you need in order to do this?
Well, you’re looking at a capture card, and I’ll show you the one that I recommend.
You also need to make sure that your cable, your HDMI cable going from the capture card to the computer can actually be, is long enough so that it can reach that secondary computer.
Sometimes, like gamers and other examples have that secondary computer kind of a little further away than right in front of you.
So just think about that.
You need an HDMI Port on that secondary machine or you need an adapter.
So me, I’m running an adapter right now. USB C to HDMI adapter.
And this is my main set up minus that adapter.
I’ve got my iMac, right. That’s the streaming machine. That’s what’s running this whole show.
And then I’ve got my capture card. And if you are not familiar with a capture card, what this does is it converts a signal.
So typically we use these capture cards for converting our HDMI signal from our camera to the USB that the software end of the computer can read.
And most of the time we’re talking about it in a camera scenario.
But here’s the cool thing.
It can also be used for other devices, like a computer to bring in that as an additional “camera”.
And then that’s just plugging directly.
That’s basically the middle man between your second computer and your primary machine.
And then if you are into gaming, then you can do the same thing with game consoles as well.
So you have options, a lot of options when it comes to this.
Now what about NDI?
Do I have to have a capture card?
Could I do it wirelessly? You could.
However, I don’t prefer NDI as an option just because it’s not as reliable as plugging in.
So it is an option if you are just bringing in a computer and you don’t care about the reliability or you have a good experience and you’re not ready to purchase a secondary capture card, but you can.
But I just prefer everything wired in and tightened up that way.
But also, if you are doing games, then a streaming console, most streaming consoles aren’t going to have that NDI option.
Now, word of warning is audio.
So if you need audio from your secondary machine, you just need to give yourself time to test.
I’m not going to go into depth on this video about that.
Just because it is in depth in a lot of different scenarios.
You might need something like Loopback in order to route that audio correctly, but not necessarily.
So you just need to think about that and test ahead of time before you decide I’m going to go live in five minutes, and then your audio is screwed up.
Okay, so just a word of warning there.
Now that’s it. That is it at a basic, simple setup.
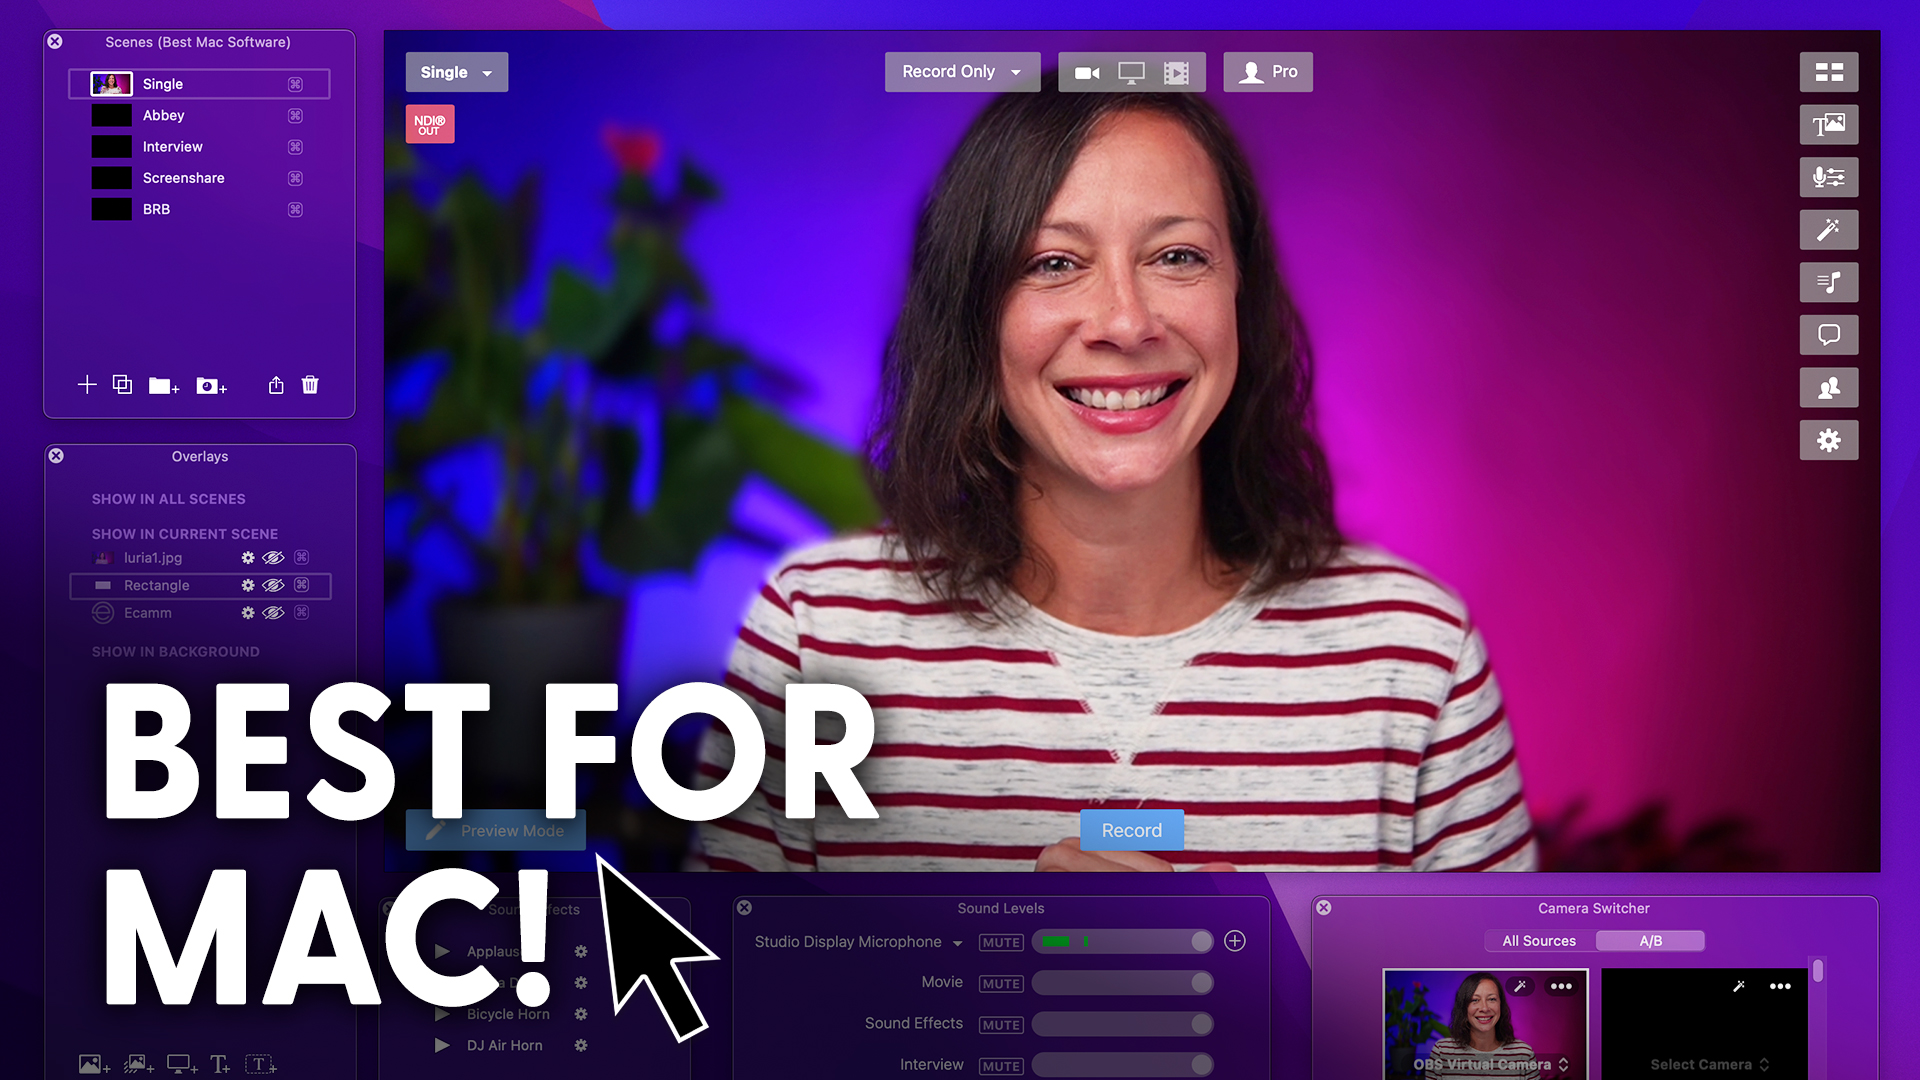
Now, what I want to do is actually show you how to build this out in Ecamm Live, the software that I use.
Now, keep in mind that this concept is the same across any software that you might be using.
And I’m just going to demo it in Ecamm so that you can understand just how to build this out for yourself.
So I’m going into demo mode, or I’m going into demo mode now.
And what I’m going to do is actually add a new scene, and I’m going to start with a blank scene, no camera whatsoever.
It’s just black.
Then I’ve got an overlay.
So I’m just going to drag and drop this overlay this PIP style so that I can add my cameras, and then the second computer will go here in that PIP that I showed you before, right?
That’s what we’re building out right here is this PIP example, and you can just go through your slides just like you would normally.
All right, so let’s add a camera.
So we’re going to go into the overlays box right here and we’re going to scroll down to show in current scene.
And then I’m just going to add a camera and this is defaulting to my secondary camera, which, as you can see, is the Cam link 4K.
Okay, so what I’m going to do now is actually go into custom.
I like the custom option because it gives me full control, and I’m just going to piece this into this frame now.
Also, if you don’t have overlays like this, you can buy them at our store.
We have a link in the description for that.
Now I’m going to send this backwards so that you see the frame here and that’s not hidden.
Now, I’m going to add my camera and we’ll change this camera to here go custom and drag that over here.
It’s super simple.
You really don’t need a lot of time to set up for this.
However, you do need to test always never set this stuff up immediately.
Right before you’re planning to go live, you can kind of go through your presentation.
That is it. That is all I needed to do.
I don’t have audio in my presentation, so that’s something to consider once again.
Now, if you’re using any other software, you can set that up in a similar format to the process. Right?
Just consider that process and adapt it for whatever software you’re using.
But I use Ecamm Live.
This is on the Ecamm Live shows or channels, and it’s my favorite streaming software.
So if you do want graphics and overlays and things like that that you can use and build out for this scenario, you can go right here. livestreamingpros.com/store
All right. So that is it at its core.
I hope this gave you a good overview of how you can use a secondary computer in order to offload resources, gain extra flexibility.
Personally speaking, I love having everything separated because then I’m not kind of managing things on that same machine.
It’s just for me process and workflow oriented.
I love that.
So I hope that you’ll find a good use out of this.
Drop a comment below and let me know what you’re going to do with your secondary machine and what secondary machine you’re going and I will see you in the next video.


